How to Bake a Simple Loaf of White Bread

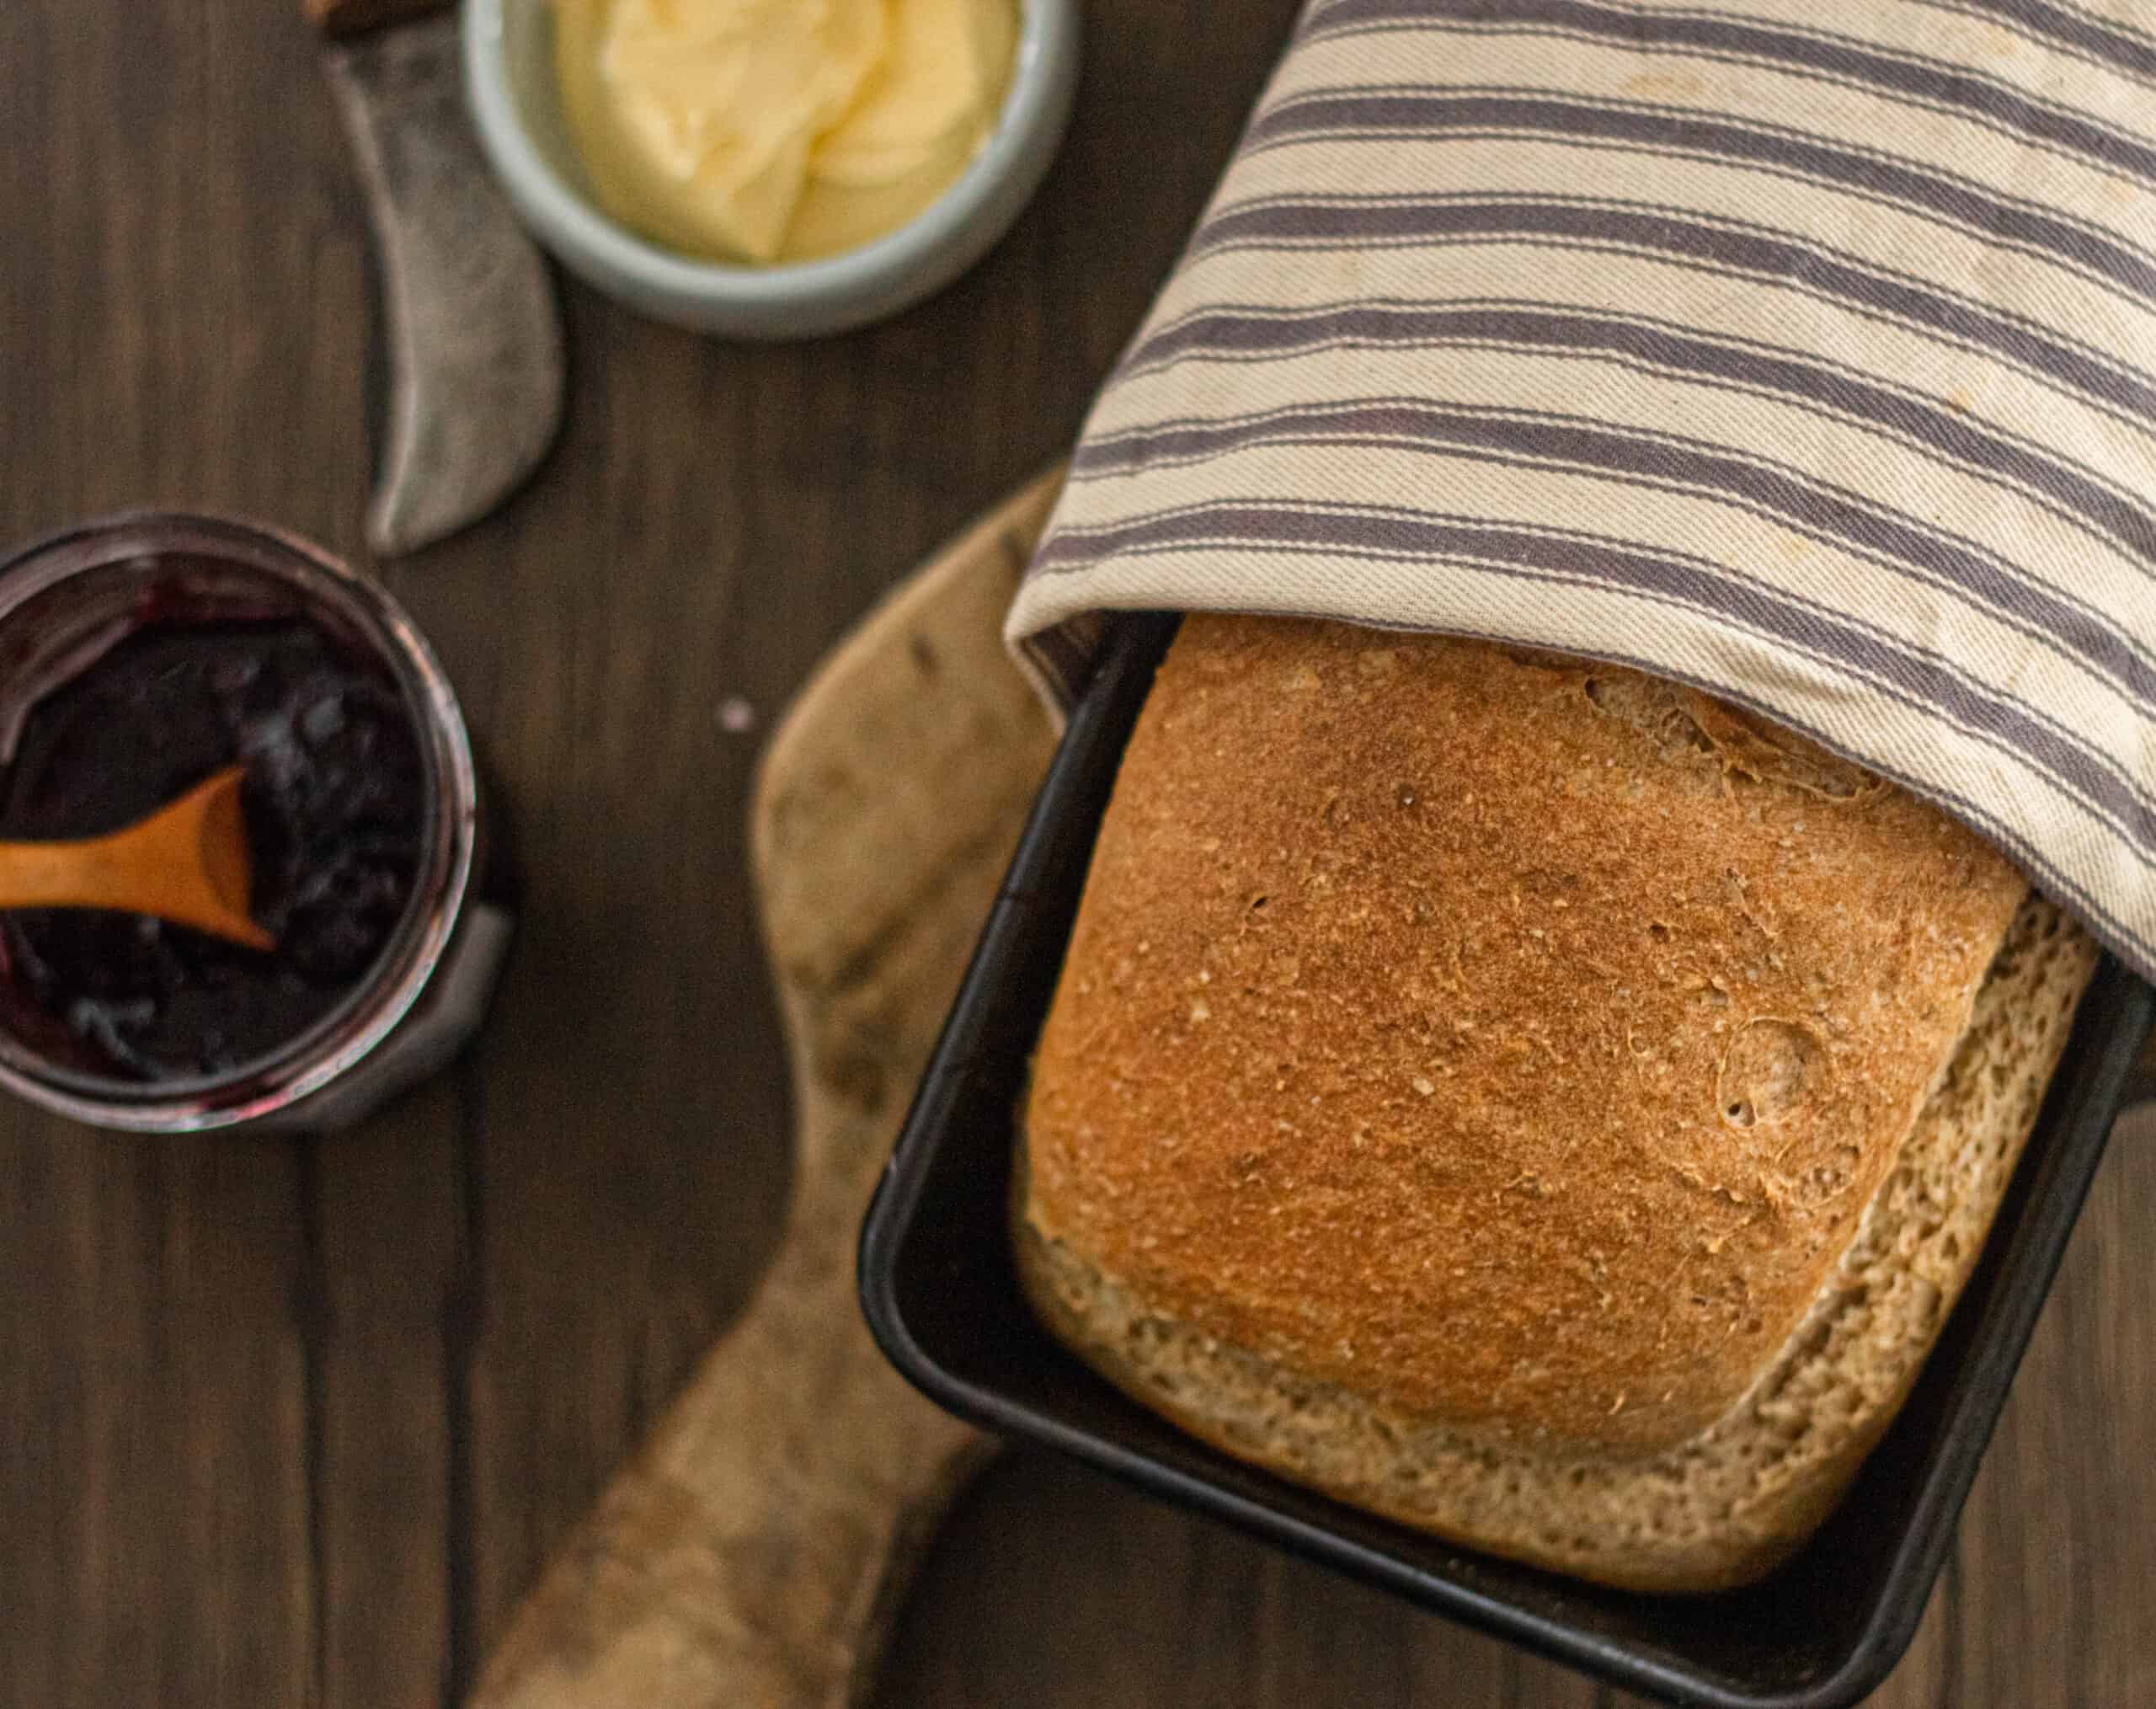
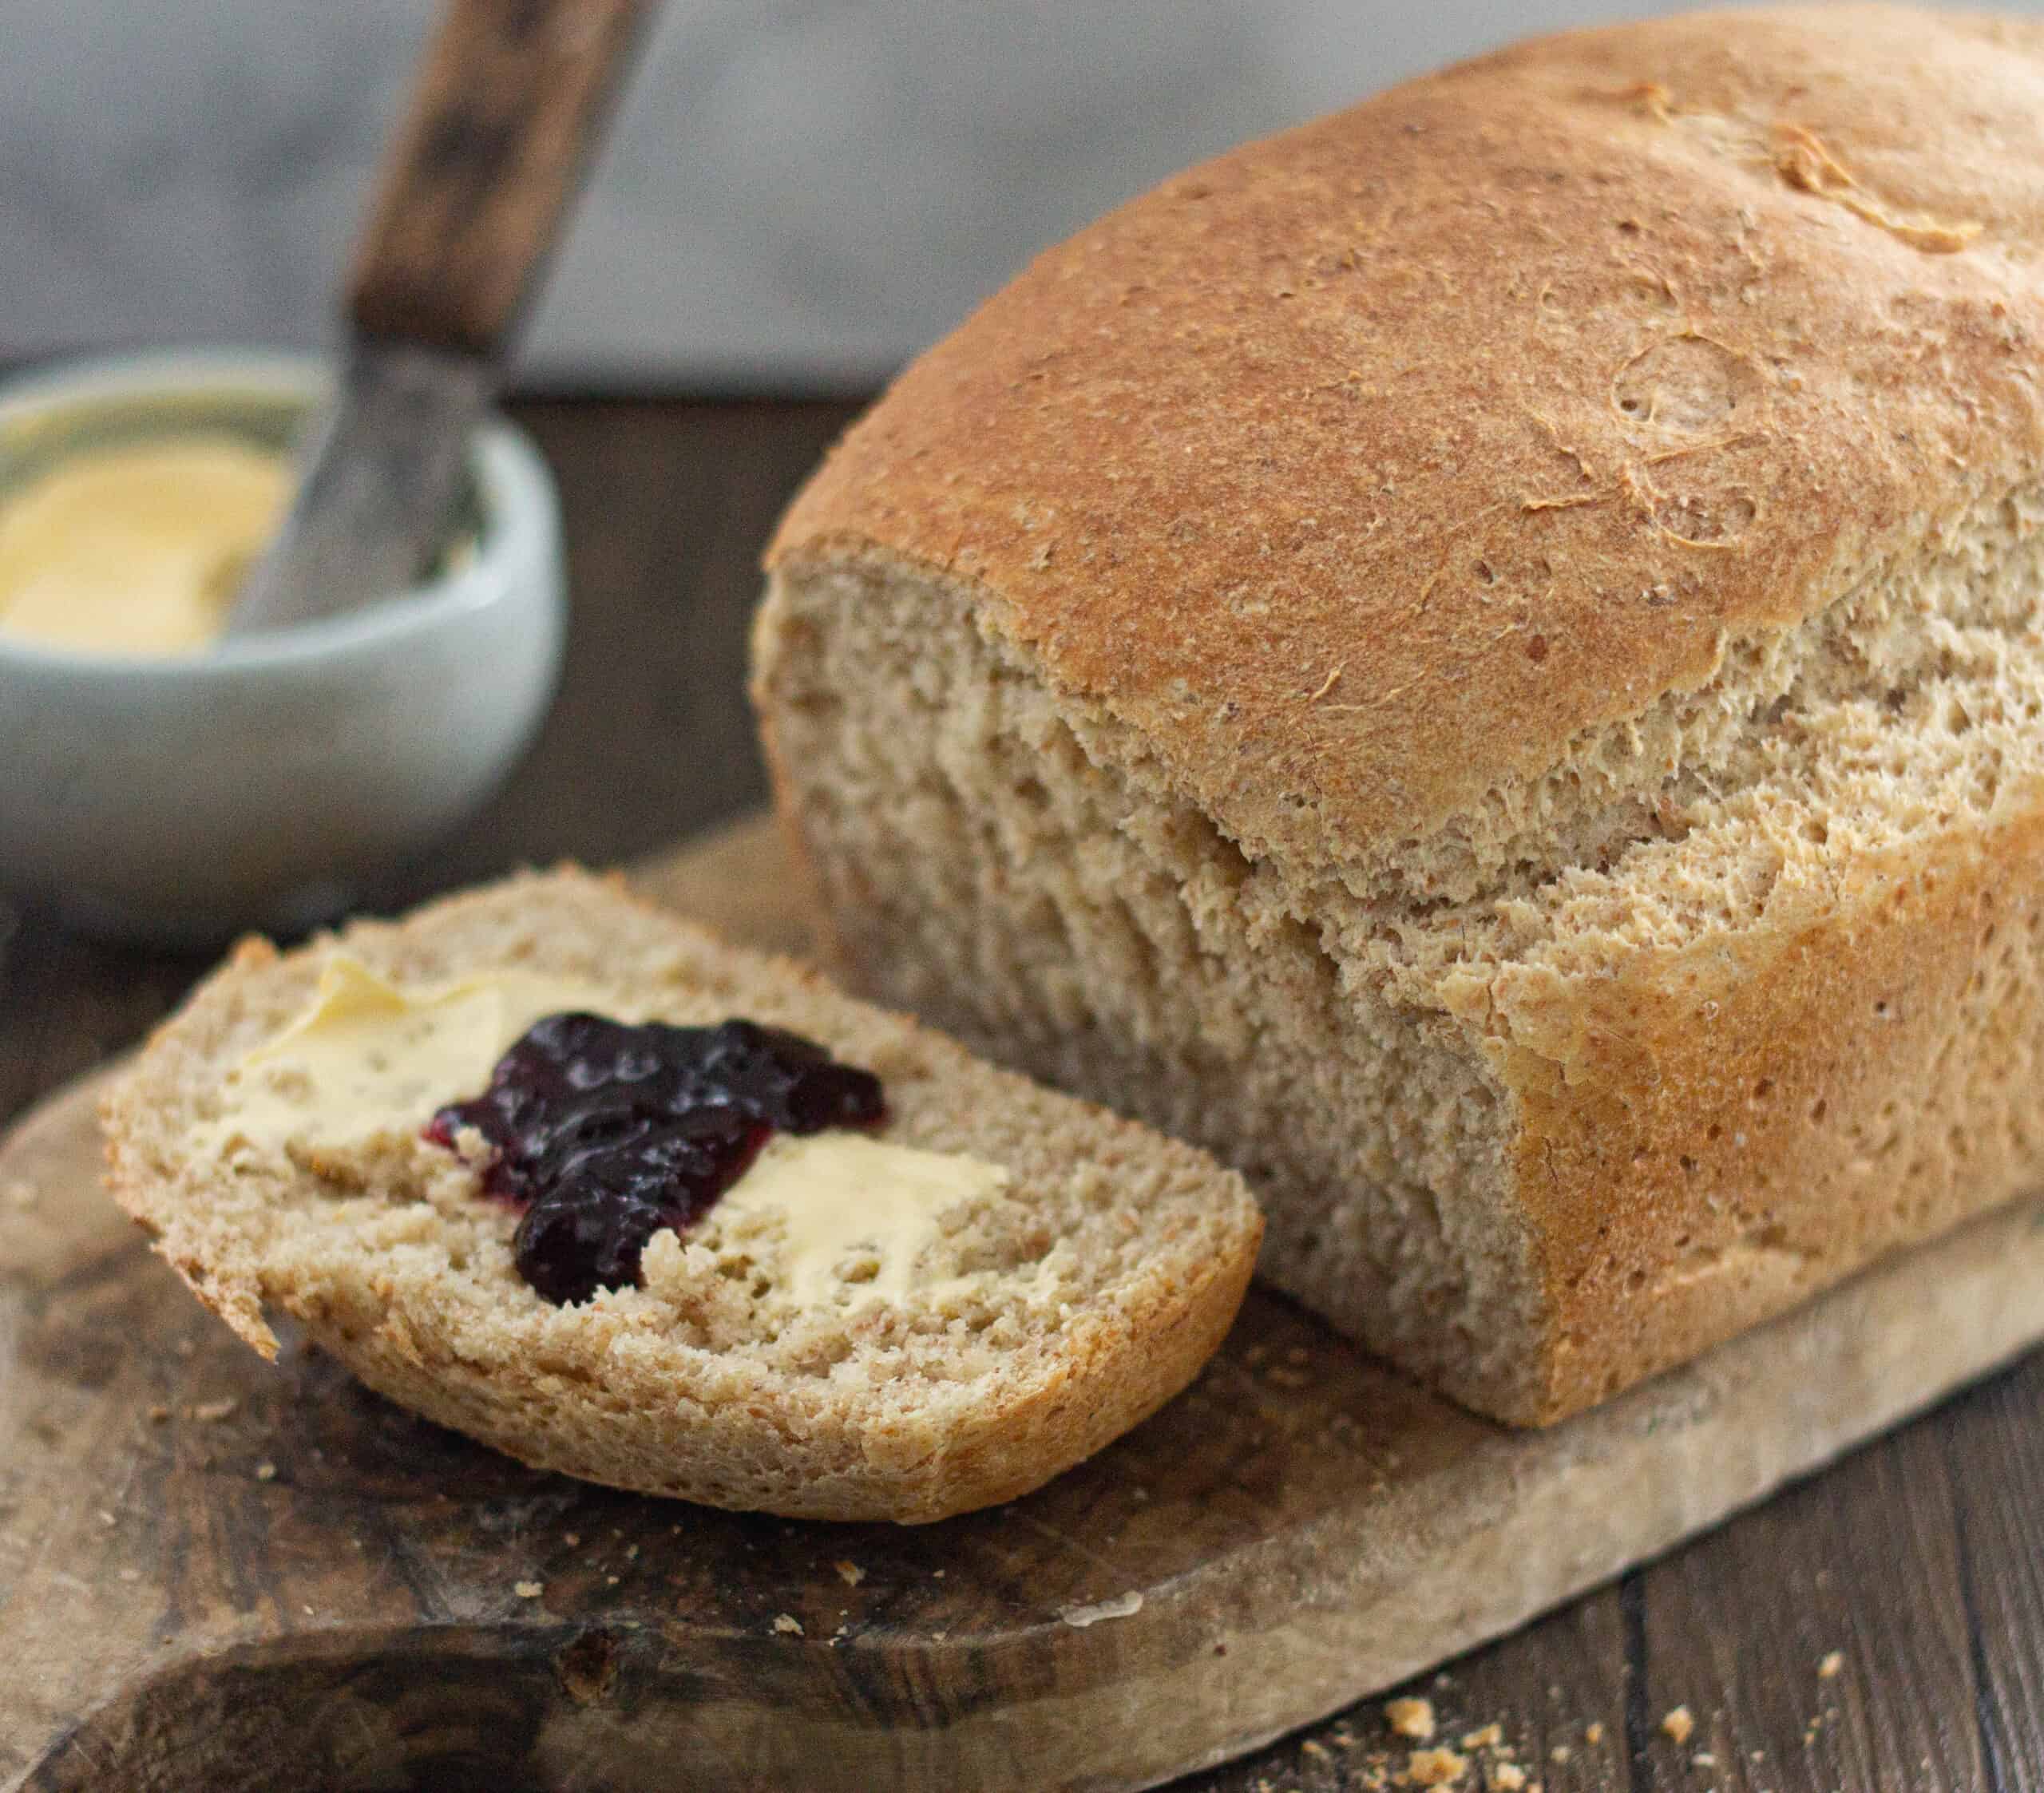
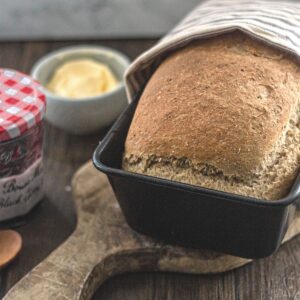
How to bake a loaf of white bread – If you yearn for a slice of homemade bread spread thickly with some salted vegan butter and fruity jam but were too intimidated to try and make your own, worry no more – this simple recipe will guarantee you a light, fluffy white loaf that will bring you oohs and ahhs from everyone who tries it!

Most people love a thick slice of homemade bread, and if you haven’t been lucky enough to try it, here’s your opportunity! Bread is a frugal food to bake, and, whilst flour is not as cheap as it once was, you can still make 2-3 loaves from a kilo size bag. This loaf is a great entry point to baking your own loaves of bread at home as it is very simple and requires minimal kneading.
If you enjoyed baking this loaf, try my simple granary style loaf, rice bread, Barley Loaf, English Muffins, rich oatmeal loaf or polenta and pine nut loaf all of which are crazy easy, or my even simpler beer bread – no kneading required!
Baking is a bit intimidating for a lot of people. I’ve known people who can cook a really good meal to perfection but ask them to make some rolls to have on the side and they become instantly sullen. I think the reason that baking evokes so much fear in so many would-be chefs is the methodology of baking.
Baking is a science and if you’ve ever spent time in a chemistry lab you’ll know that you must be sure of quantities and reaction times or risk blowing up the entire Science Department. While there’s little fear of blowing up your kitchen with biscuit dough, it is important to understand the chemical process of baking to yield good results.
Making a decent loaf of homemade bread is the result of a variety of factors. People tend to think of bread in terms of components. Yeast, flour, and water are indeed useful, but the single most important ingredient in bread is carbon dioxide. The device whereby every loaf of bread, every roll, and every muffin you make rises is the distribution of CO2 throughout the dough.
There are certain rules of thumb I tend to follow when I bake bread:
Table of Contents
Rules for Baking Bread
Rule #1: Activate your yeast.
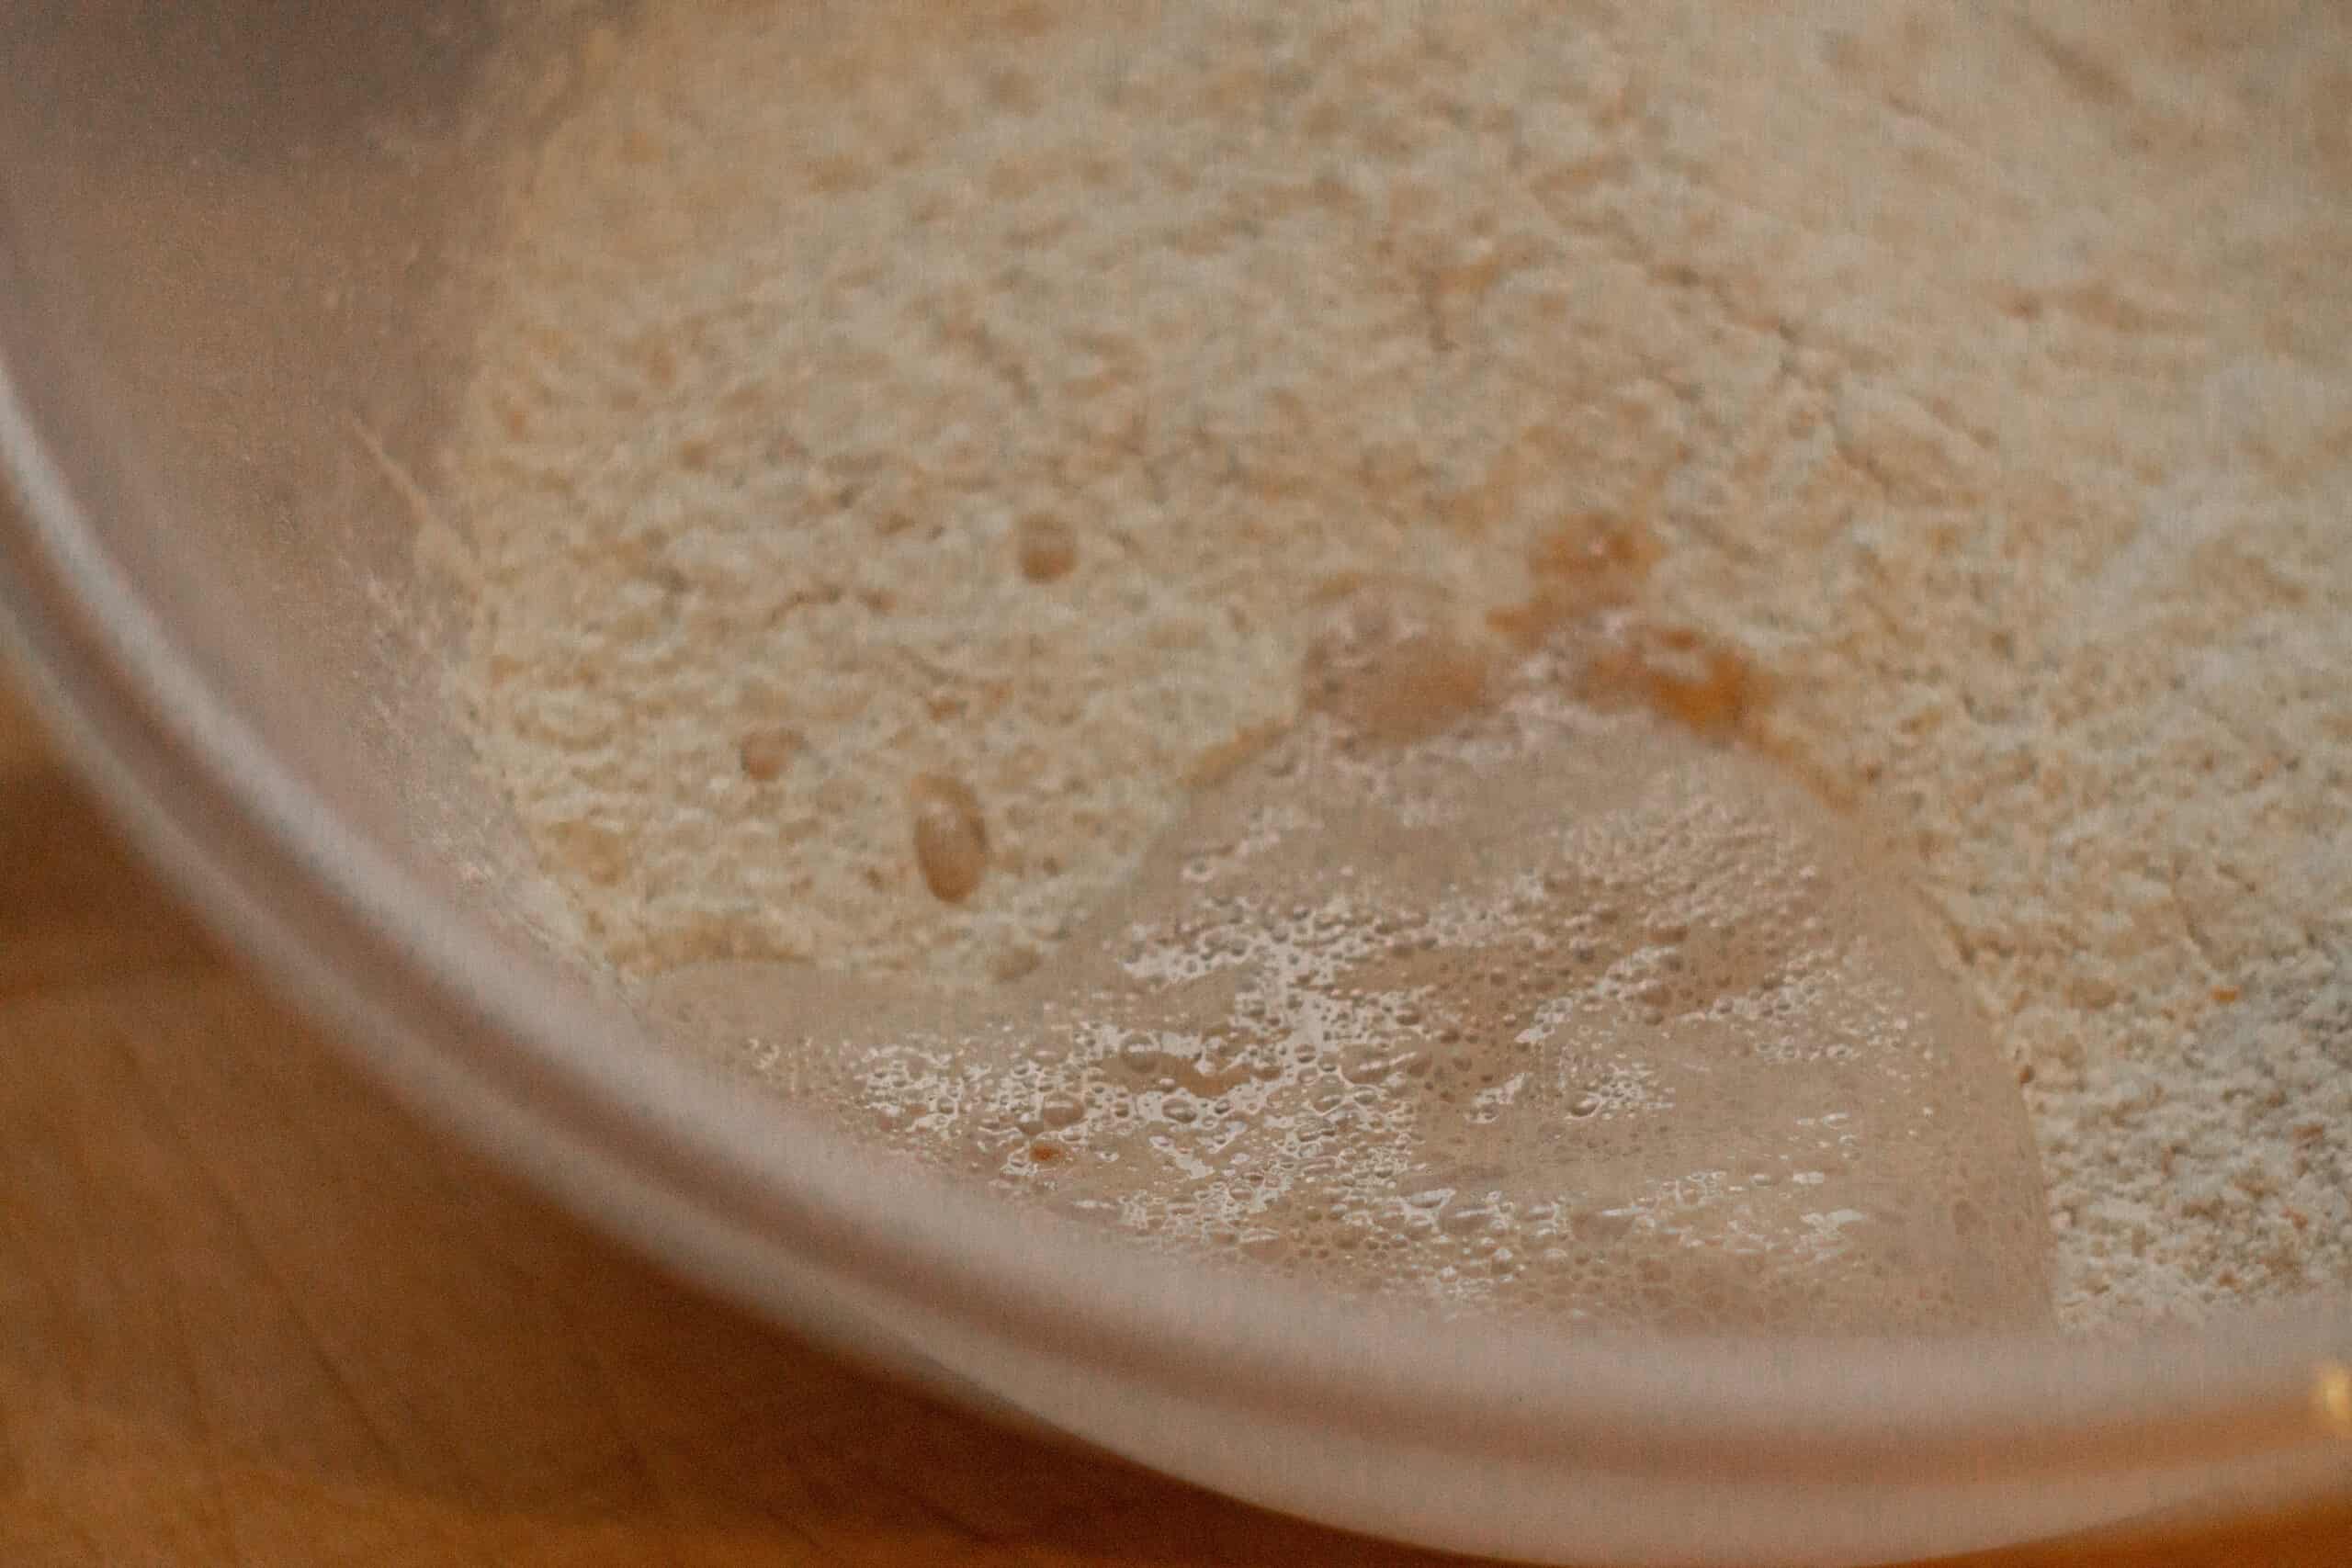
I tend to bake with potato water (reserve water from boiling potatoes) for a softer loaf of bread with a bit more longevity. If you use this water (warm, but not hot (yeast dies at 140°F)), mixed with a teaspoon of sugar, to activate your yeast, you’ll have a really good foundation to build on. I allow my mixture to stand for at least ten minutes until it gets very frothy. n.b. If you don’t have potatoes, just use cooled boiled water.
Rule #2: Sift your flour. Sifted flour has more air in it. Don’t make your yeast work harder than it has to.
Rule #3: Knead your dough until it’s done, not until you’re bored. The first knead is less important than the second. The first knead activates the yeast and gluten, whereas the second knead is putting more air into your bread to ensure the final product is airy, not stodgy.
Rule #4: Allow your dough to rise for as long as possible. This, of course, is not always easy, but do it anyway. Most bread dough requires an initial rising and a secondary rising. The first rising in a bowl in a warm place. The second in the pan it will be baked in. In most cases, you can let the dough rise in the fridge overnight, but make sure it’s up to room temperature again before you punch it down.
Rule #5: Score your bread with a razor. If you imagine your dough as a plastic sack tightly packed with sponges. When you slice through the bag the sponges are free to pop out. The outside of a ball of dough develops a surface tension from kneading which traps air inside. If you make a clean cut through that skin your bread will rise much higher as carbon dioxide escapes through the cuts. A knife is not sharp enough for this procedure though, so I keep a razor blade on hand for this procedure.
Rule #6: Turn your oven up as high as it will go for the initial cooking, even if this is only for five minutes. Bread dough rises more in the first few minutes of baking than at any other time. Bakers refer to this as “Oven Spring” as the bread can increase in size by 1/3 in just 2-3 minutes.
Rule #7: Humidify your oven. Keeping a bottle with an atomizer around is very important. This isn’t to lower the temperature of the oven; it serves to keep the outside of your dough moist. This prevents a crust from forming too rapidly. Subsequently, your bread has longer to rise. I generally spray my oven thoroughly before my dough goes in and then every ten minutes or so until the bread is finished.
Rule #8: (Taken from the Hitchhikers Guide to the Galaxy.) Don’t Panic!
A Simple White Loaf of Bread
This recipe is from Elizabeth’s David English Bread and Yeast Cookery, an indispensable read for anyone interested in the history of breadmaking in the UK.
In it, she recommends an interesting baking method, whereby the loaf is baked in the loaf tin for the first 30 minutes, then it is removed from the tin and baked – on its side – out of the tin for the last 15 minutes. She doesn’t state the purpose of this, but I assume it is to give the sides a good crust as well. I have never cooked bread this way before, but it does work!
Ingredients
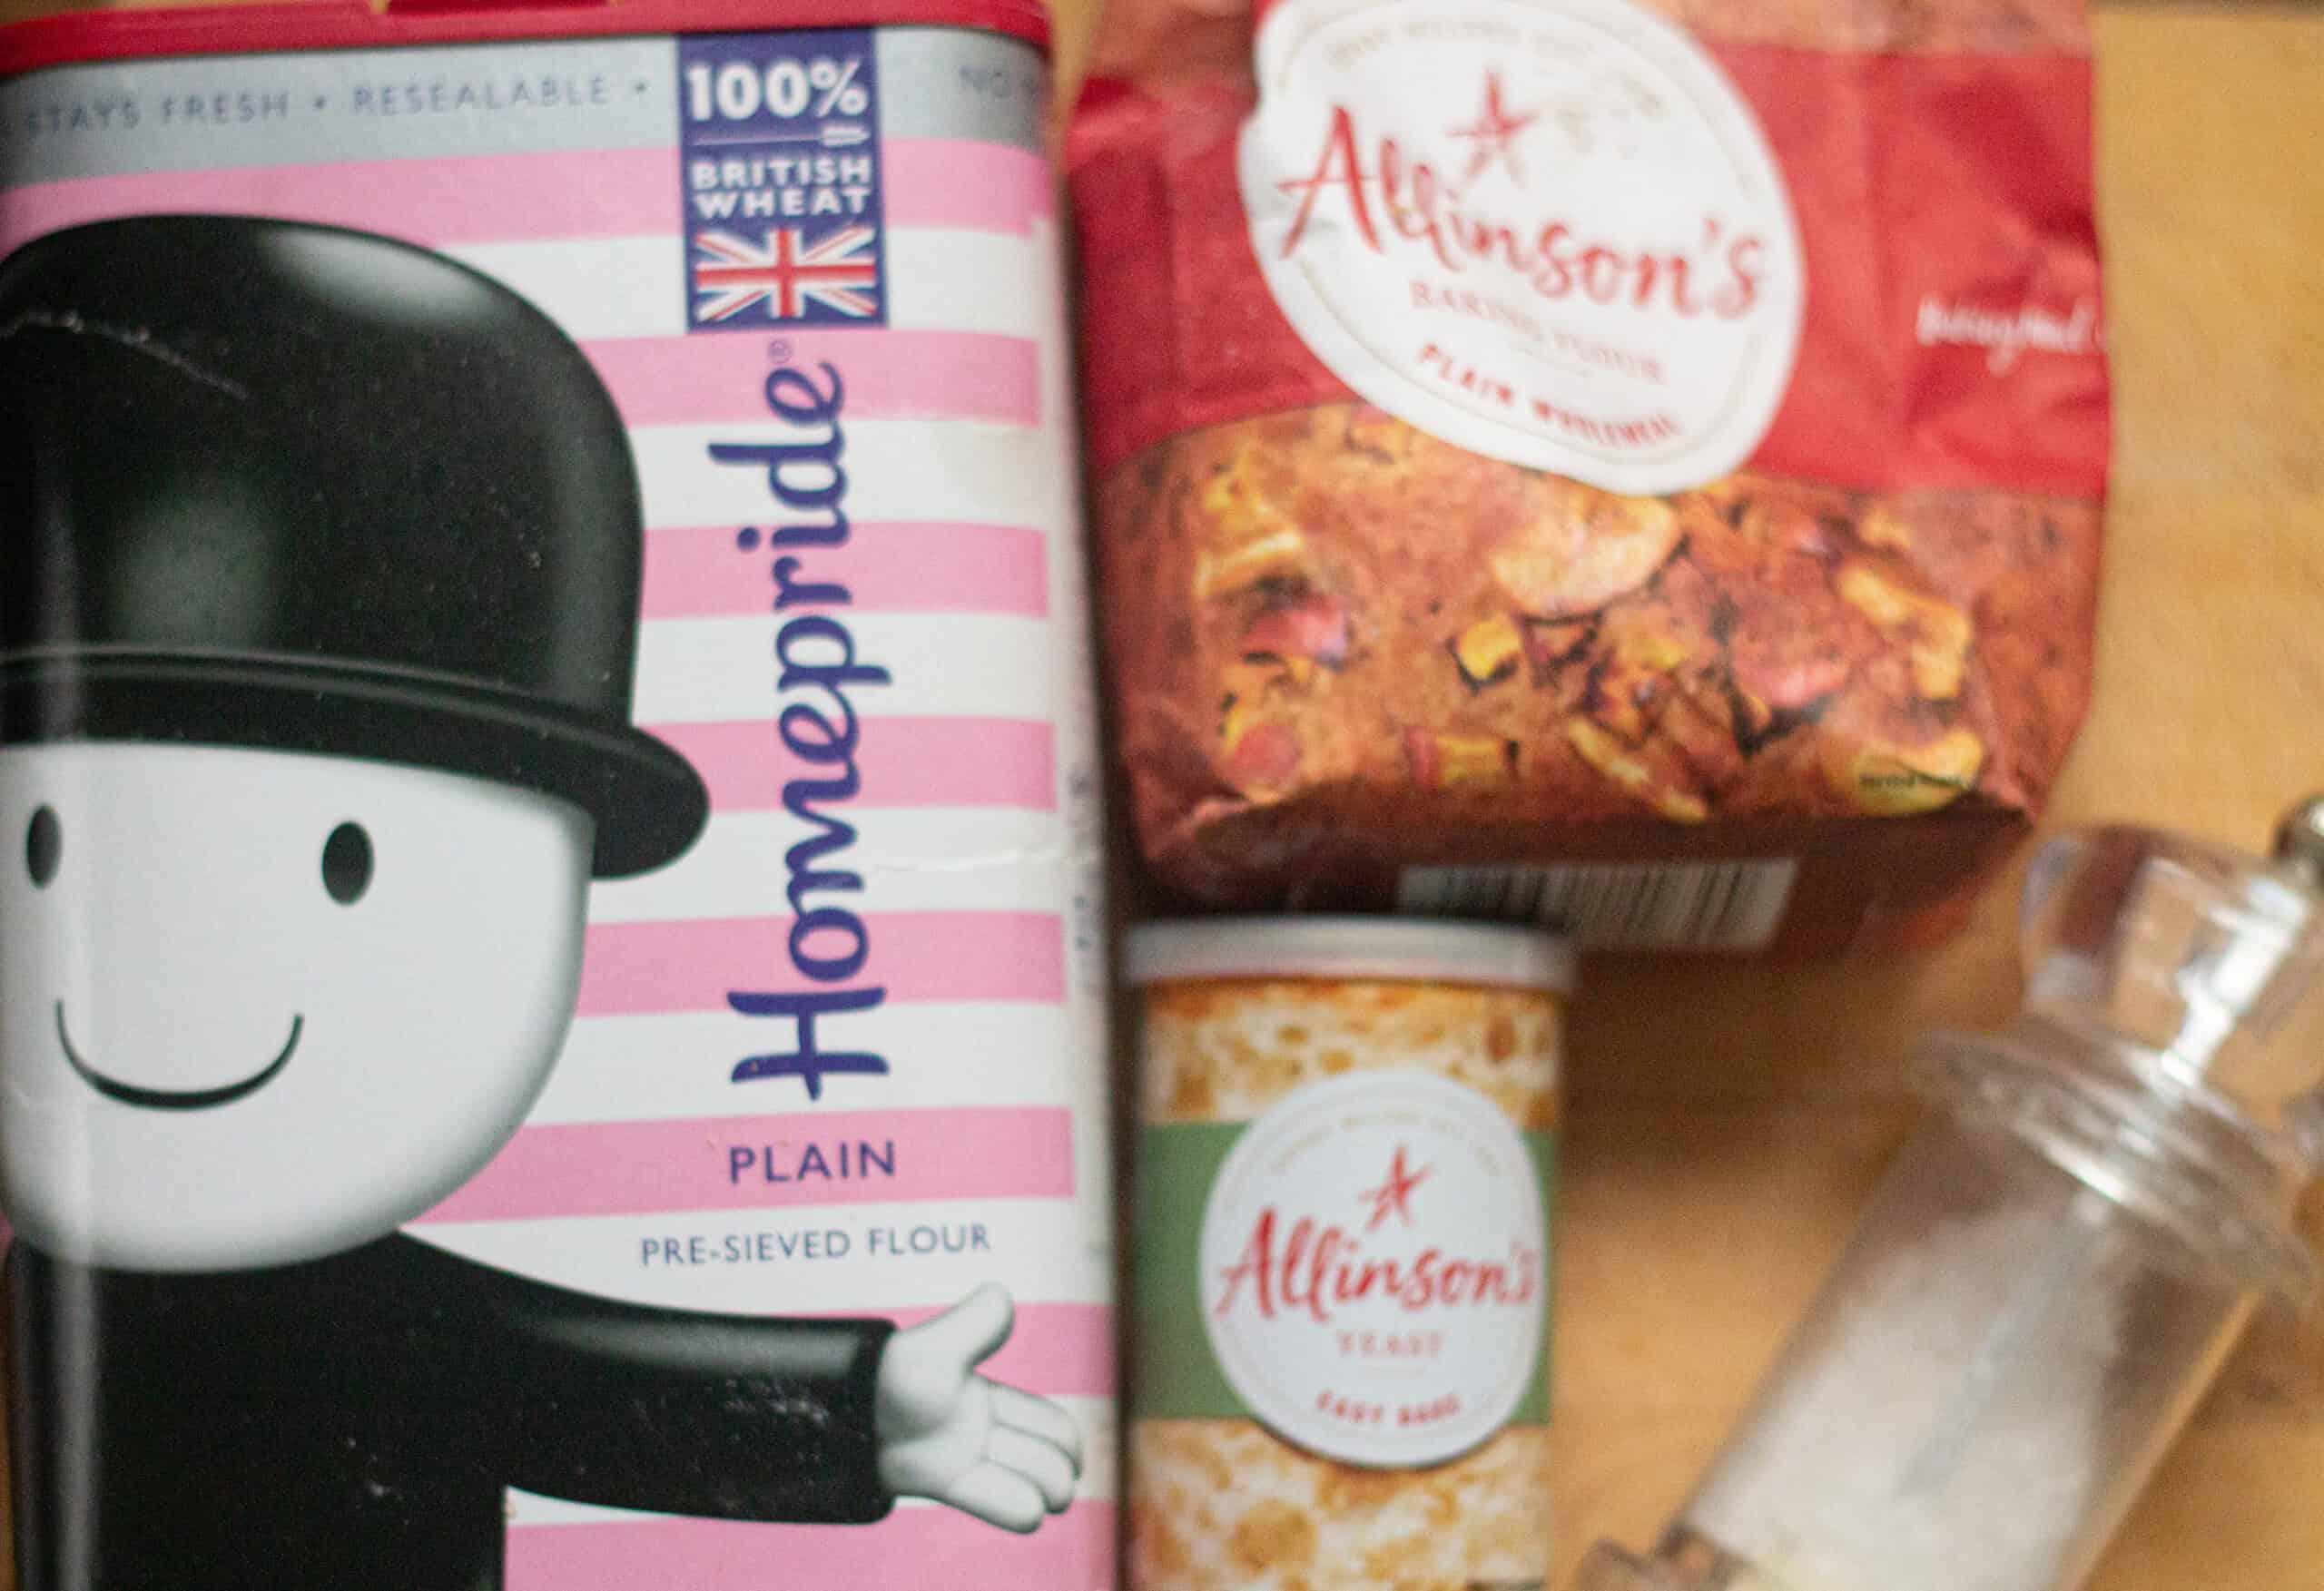
- flour, I have used a mixture of strong white plain flour, and some wholemeal flour in this bread recipe, for flavor and texture
- yeast. I use instant yeast. If you want to use fresh yeast, you will need to adjust your amounts used. Doves Farm have a great yeast conversion chart here.
- salt. This adds flavor to the bread. The original recipe uses 20g of salt, I reduced this to 10g. If you prefer a saltier bread, then by all means increase this to the original value of 20g.
This is ONLY a list of ingredients for the recipe; please see recipe card below for complete printable recipe.
Instructions
Add the activated yeast to the flour
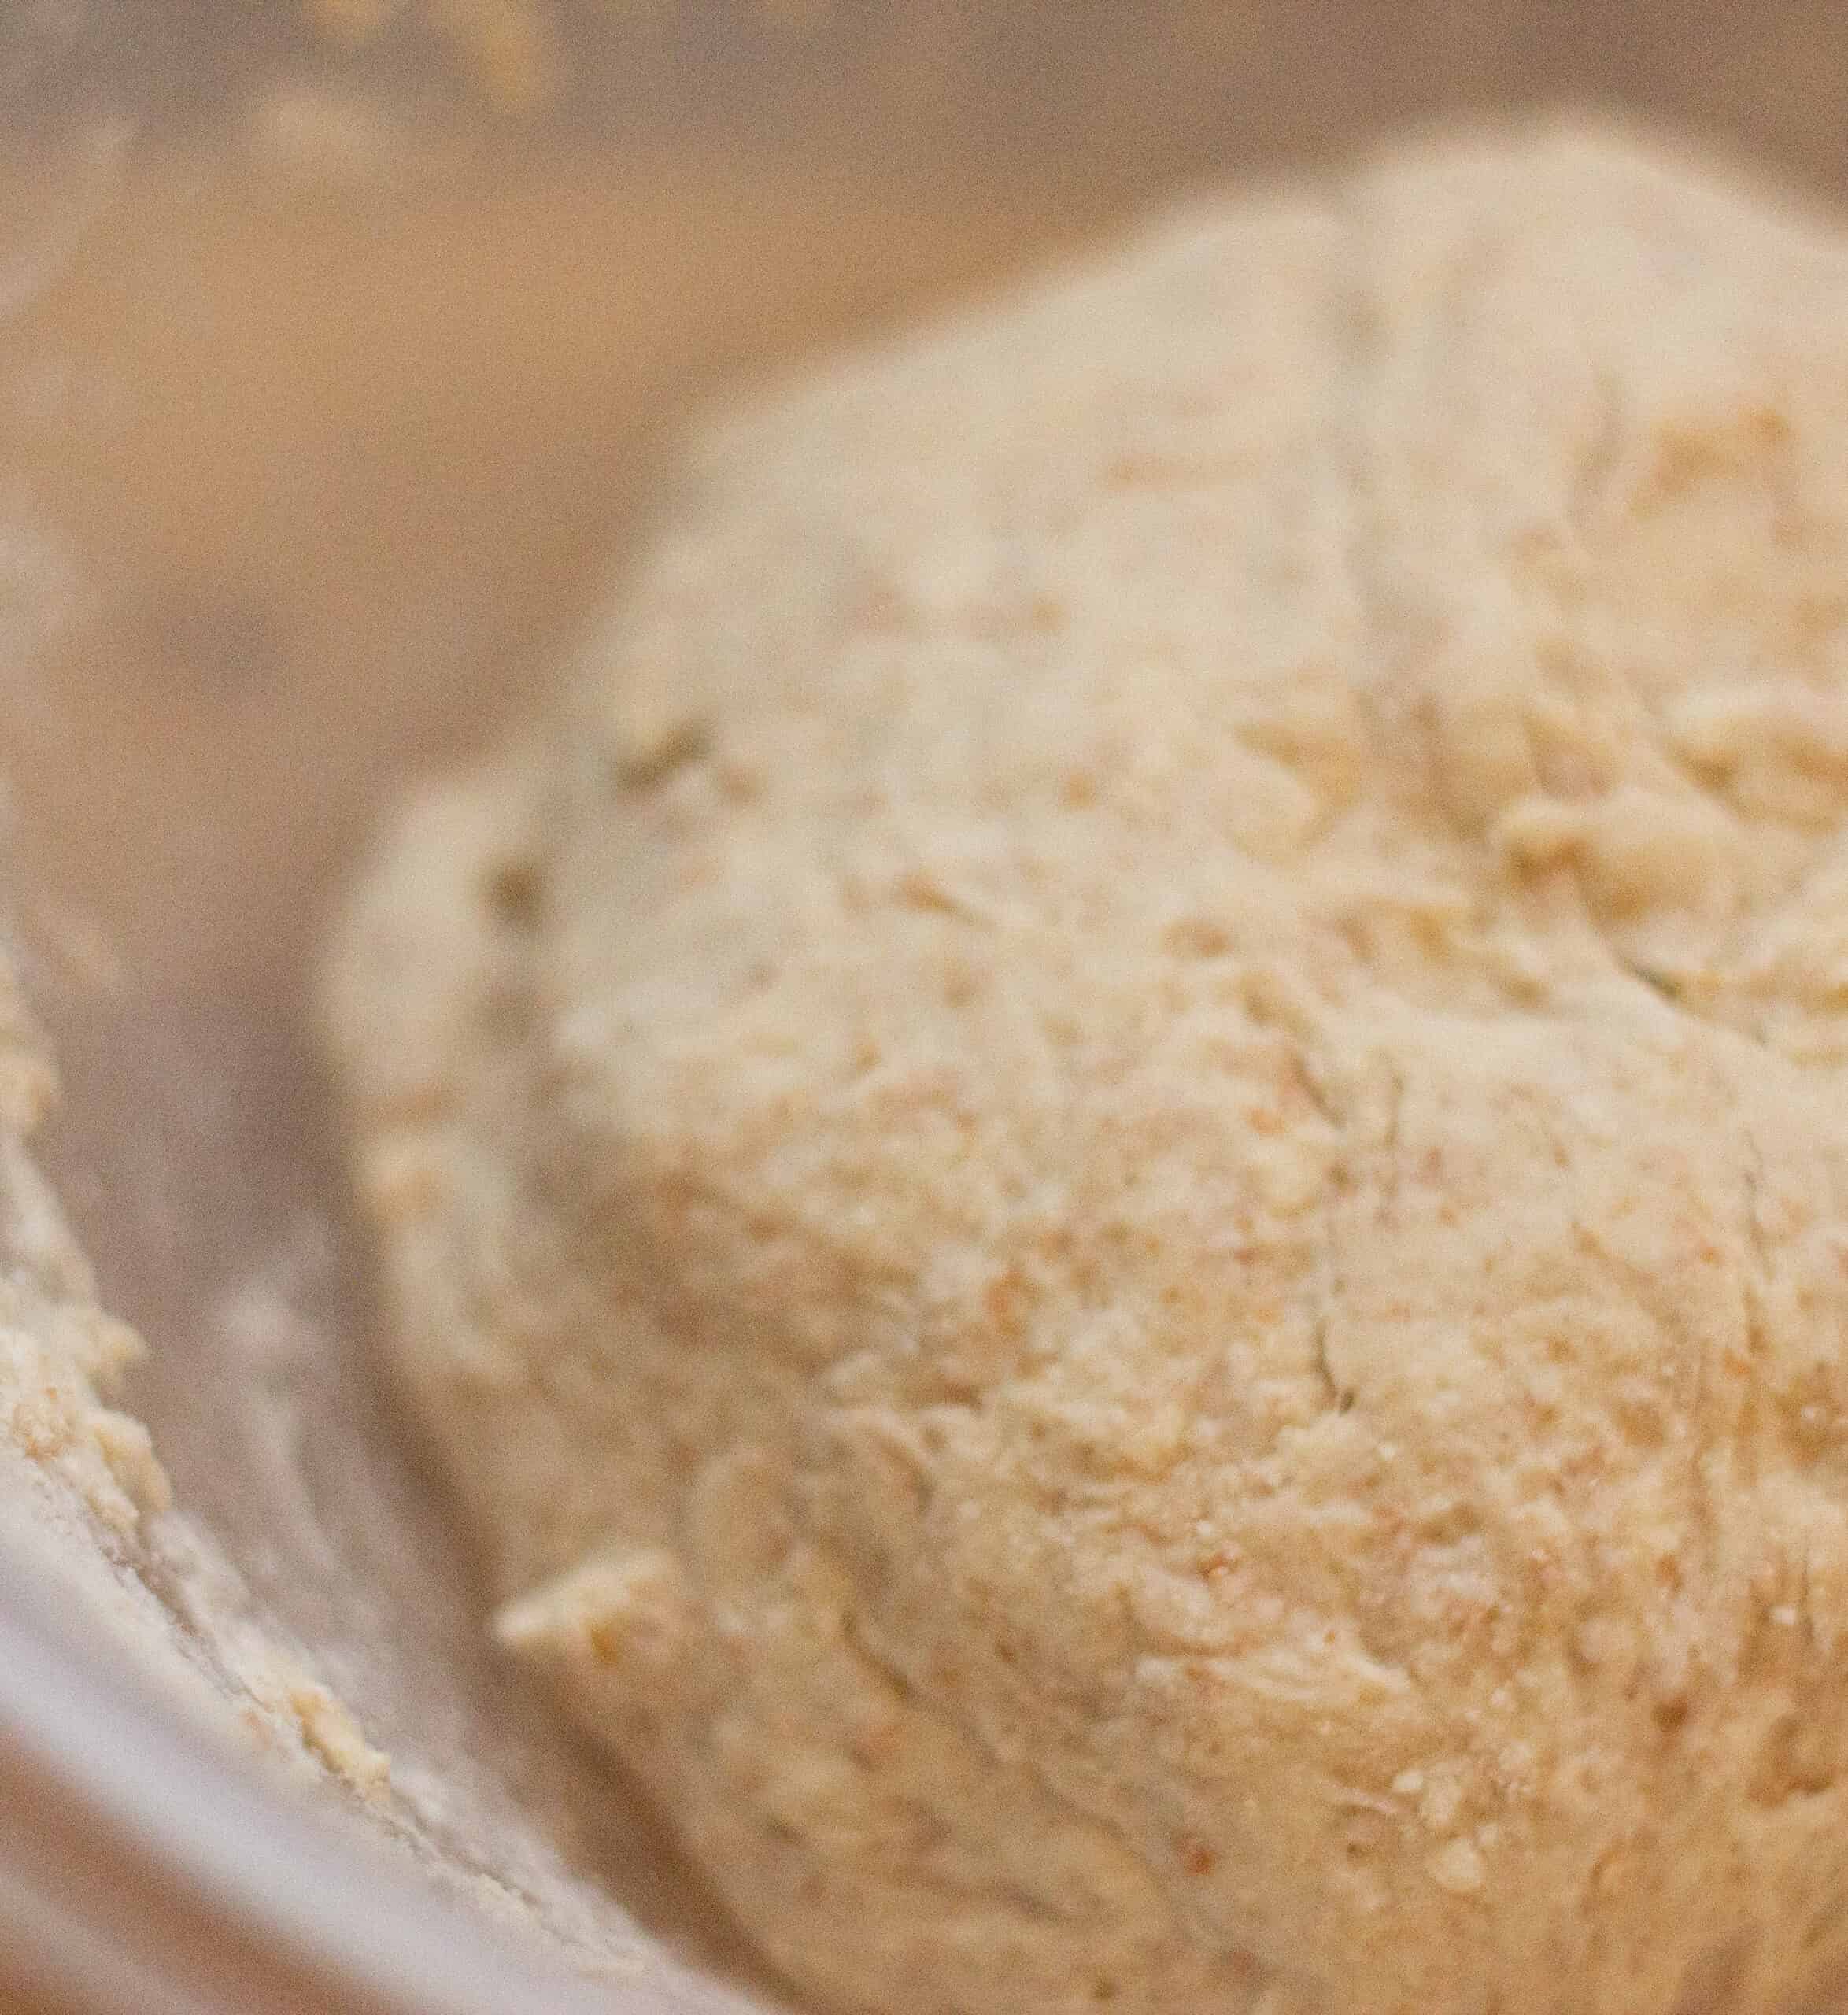
Add the water, then knead lightly until it forms into a cohesive ball of dough. Leave to prove 2 hours.
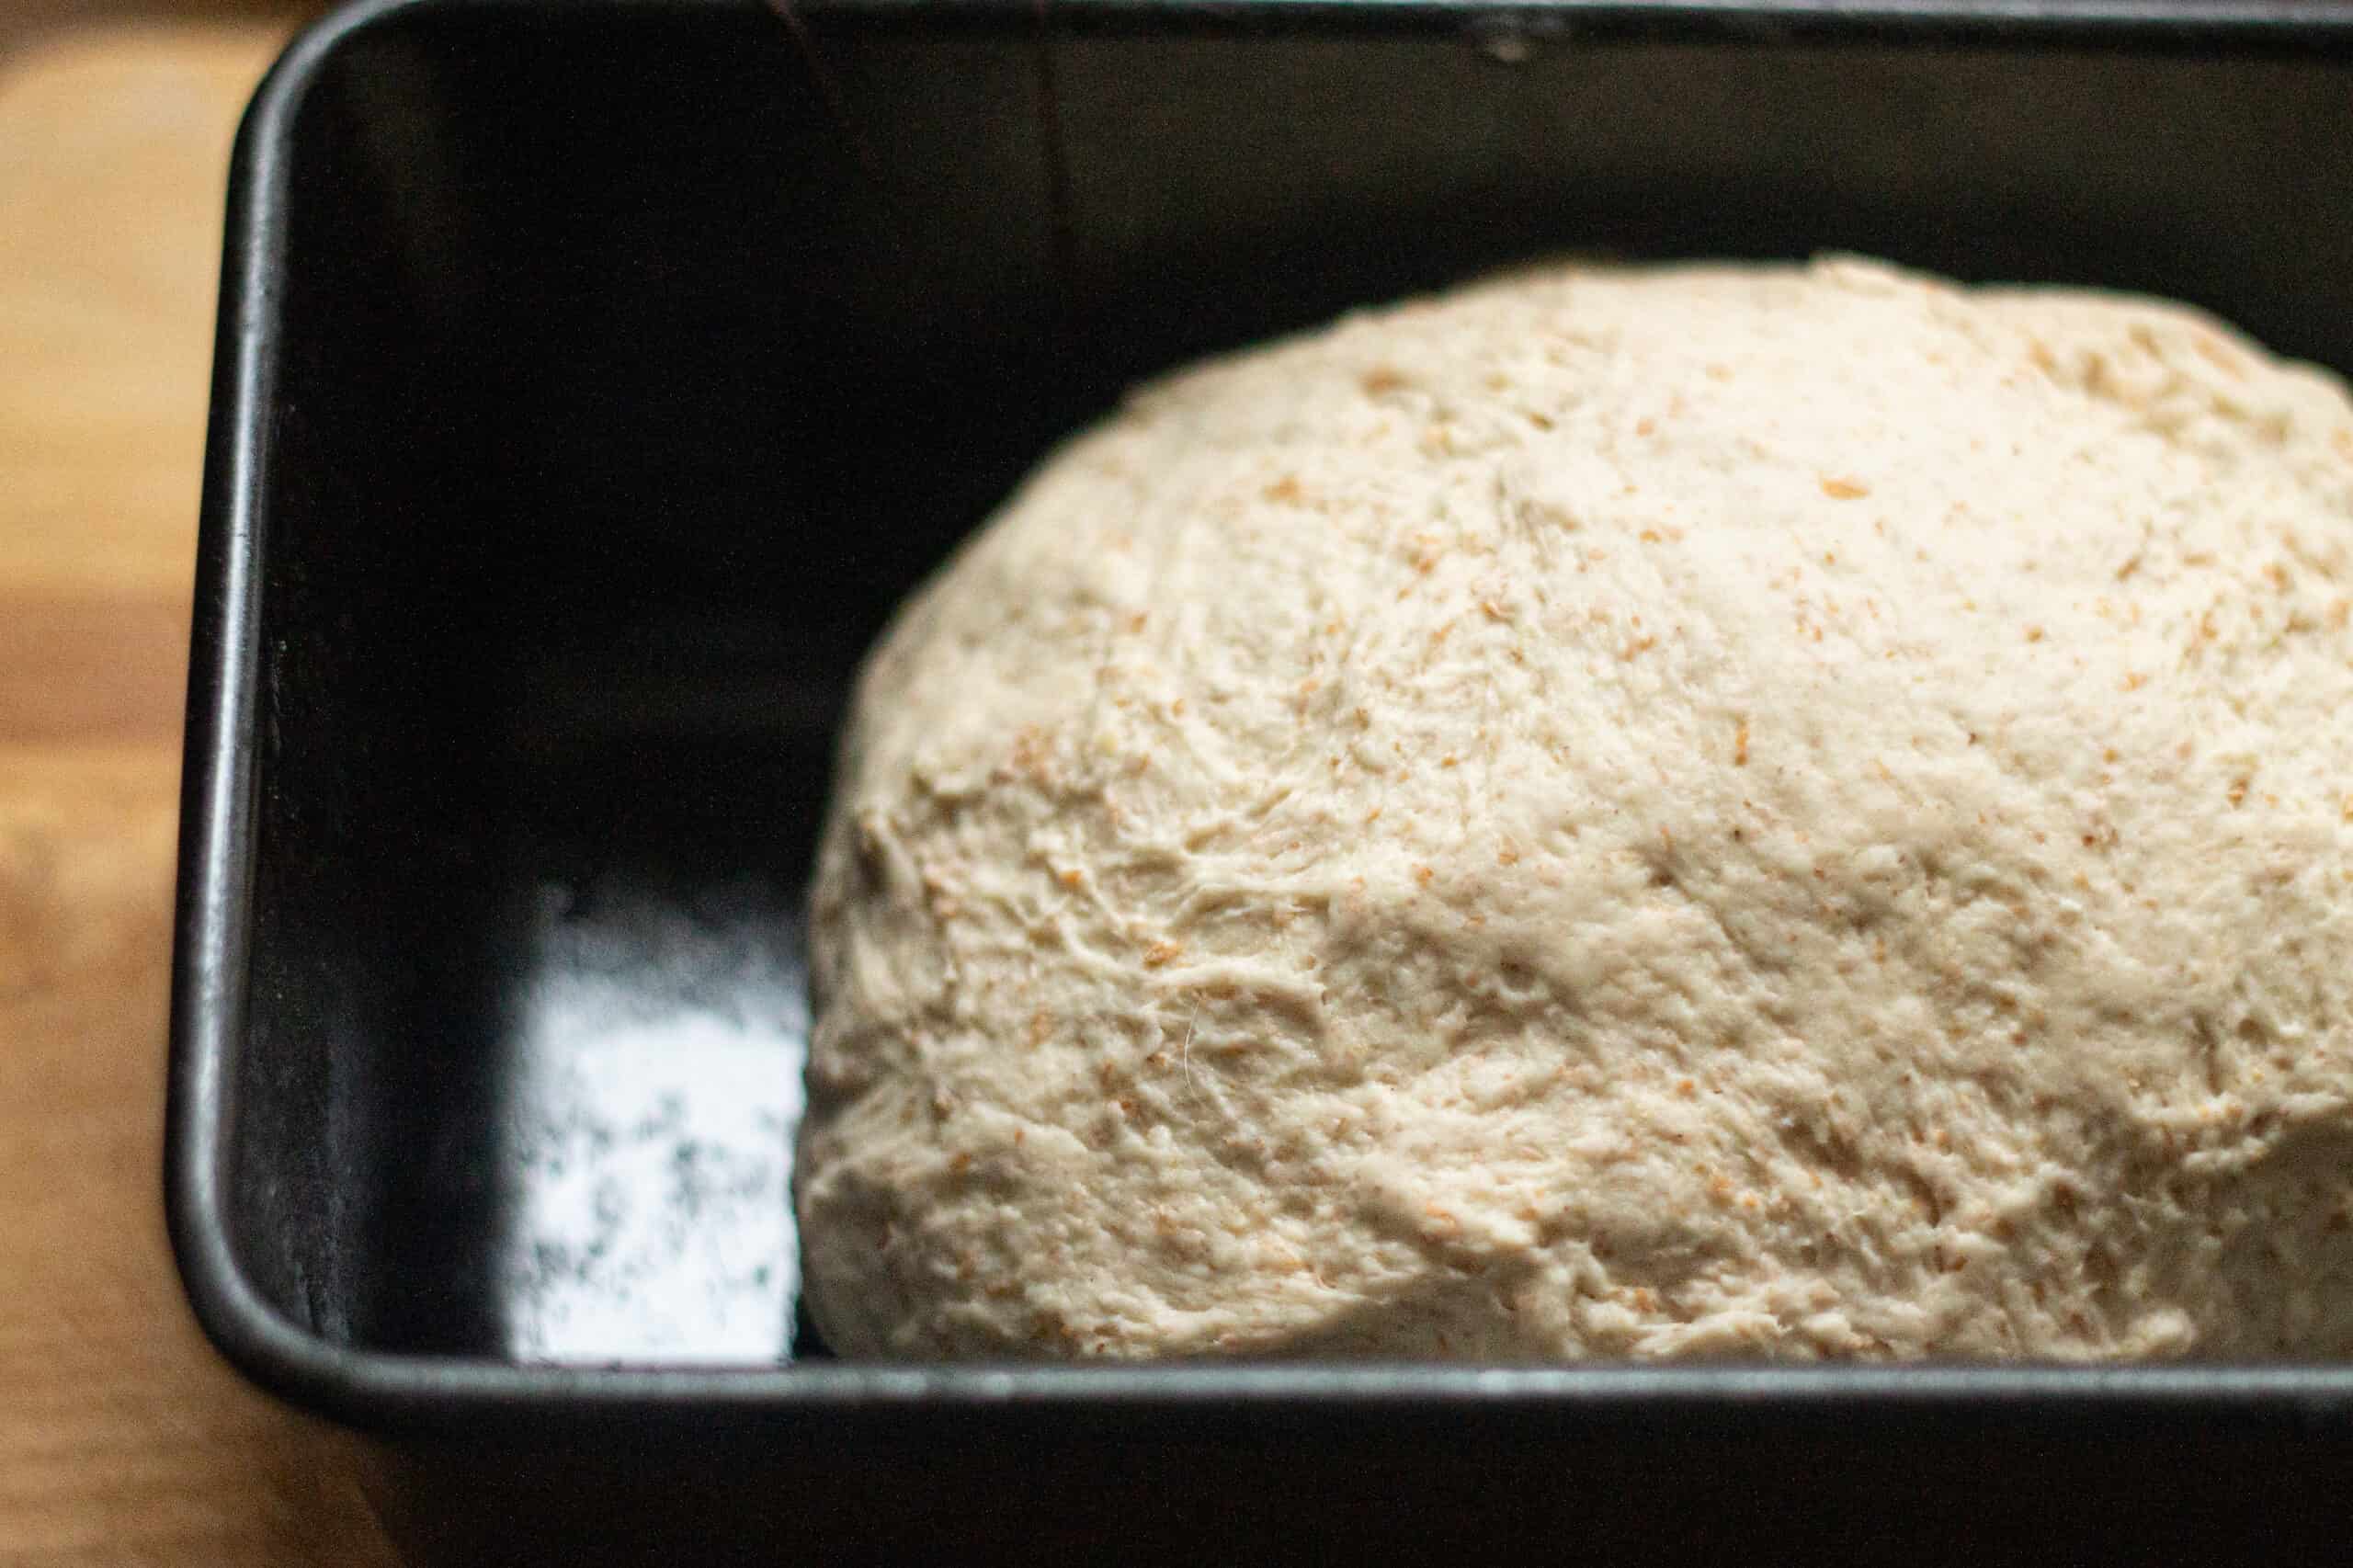
Knock down the dough then knead again for 2-3 minutes until smooth. Place in oiled loaf tin and leave to rise again.
Once risen for 45 minutes, bake for 45 minutes as per directions in the recipe card.
Hint: if your house is particularly cold, it can help with the rise to place the bread, covered, in an airing cupboard.
Substitutions
- flour – try using different ratios of flour, brown, wholemeal etc to achieve the flavor you love. Note that rising times and liquid amounts will vary.
Equipment
A 2lb loaf tin is just about the only specialised equipment you’ll need here.
Storage
Store in a bread bin but not refrigerator. It will be good for 2-3 days, although may be better toasted latterly.
You can freeze the loaf once baked and cooled. Wrap tightly in clingfilm and freeze for up to 3 months. Gently thaw in a very low oven.
Top tip
As soon as the loaf is ready, remove from the tin straightaway and place on a cooling rack. The heat in the tin will produce steam which will make the loaf damp and spoil your crust.
FAQ
Providing you have flour, yeast, salt and water, you’re good to go! There is a fifth essential ingredient of carbon dioxide, provided both by the activated yeast, and also the act of your kneading. Never underestimate how critical this invisible ingredient is to successful breadmaking.
I personally think that if you have complete control over any of the ingredients and methods to prepare your own food, then you can make anything healthier. Homemade bread in particular doesn’t contain any preservatives that shop bought does. You are also able to control how much sugar or salt you add.
A Simple Loaf of Bread
Equipment
- 1 2lb Loaf Tin lightly oiled
Ingredients
- 450 g White Flour - strong
- 100 g Wholemeal flour
- 10 g Salt
- 7 g Yeast - I use instant
- ½ tsp Sugar
- 340 ml Water - boiled and then cooled for about 3 minutes
Instructions
- Place the flours and salt into a large mixing bowl.
- Place the yeast and sugar into a small bowl and just cover with some of the water. Leave until it is frothy and creamy.
- Add the yeast mixture to the flour and stir with a wooden spoon and half of the remaining of the water to incorporate.
- Add the last of the water, and, using your hands, knead the mixture until you have a smooth, cohesive ball of dough. This should only take a couple of minutes.
- Cover the bowl with a clean tea towel and leave to rise for a couple of hours.
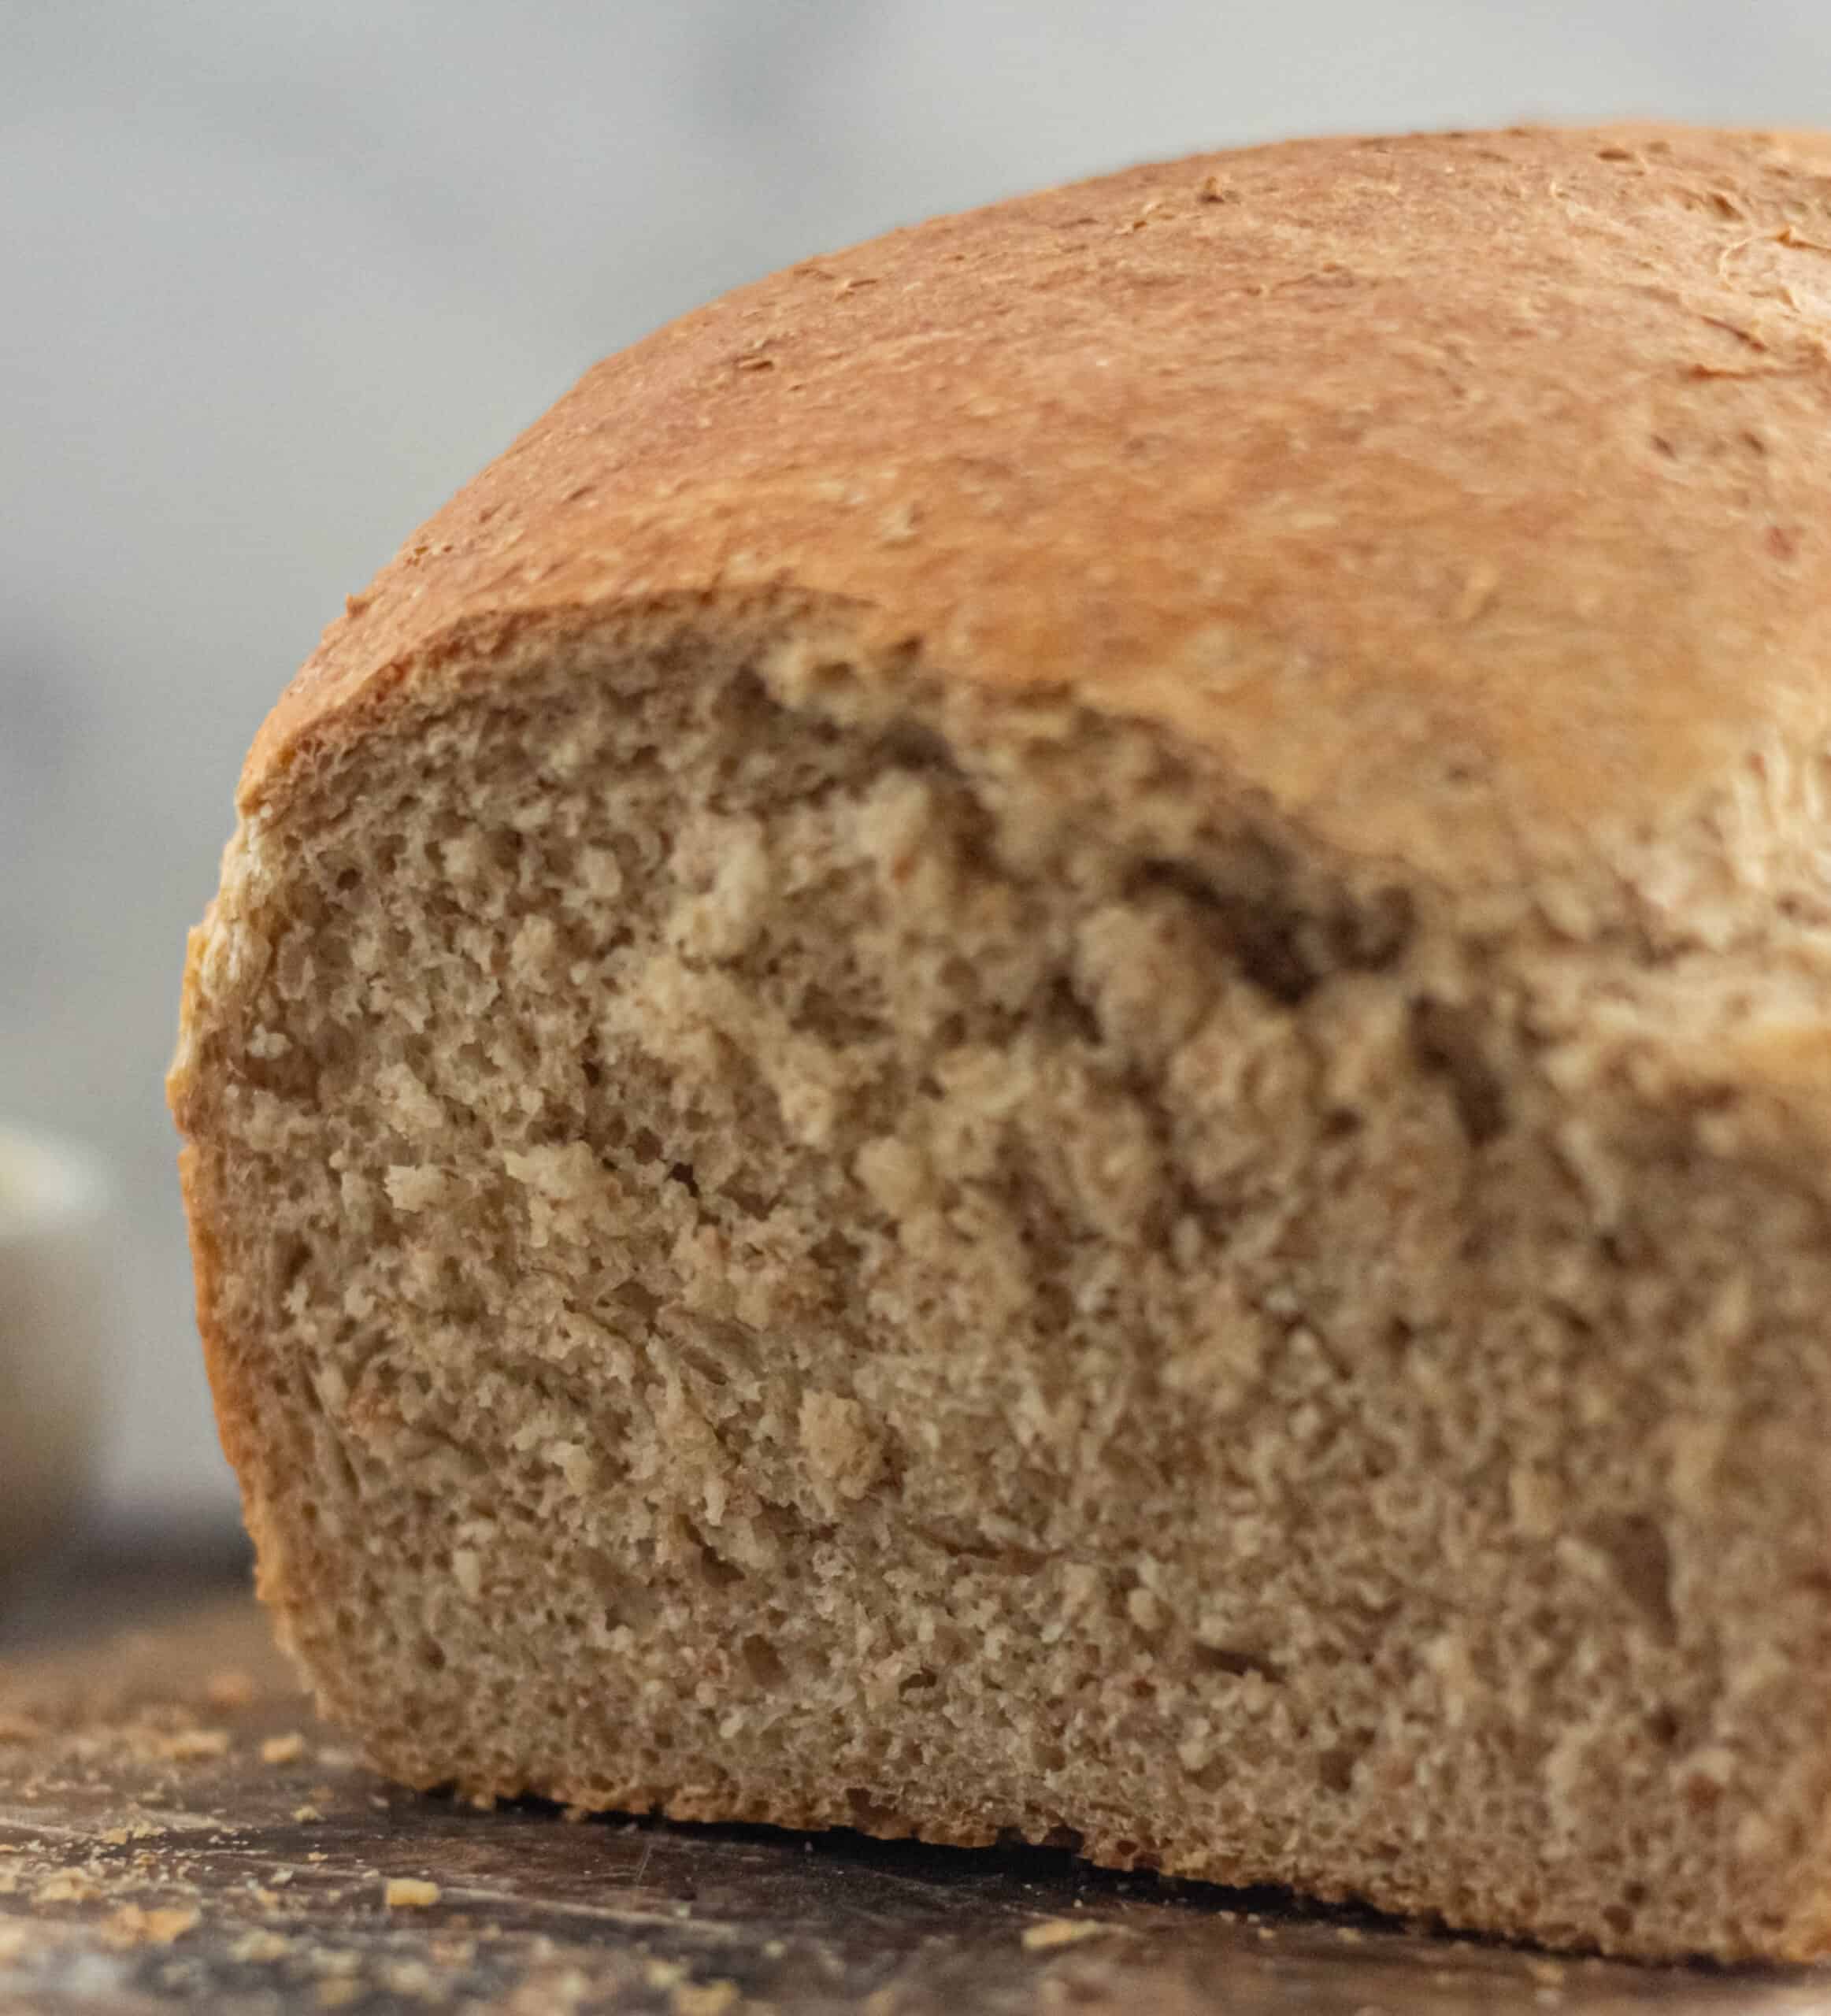
- After a couple of hours, the dough will have doubled in size and be light and airy. Knock it down using your fist, then knead into a smooth ball again. Knead for about 4 minutes to ensure a nicely aerated dough. Add a little flour if it feels a little sticky.
- This time, gently shape the dough so that the edges are folded under and gently place in your lightly oiled loaf tin for its final rise, this time for 45 minutes.
- Preheat your oven to 220c.
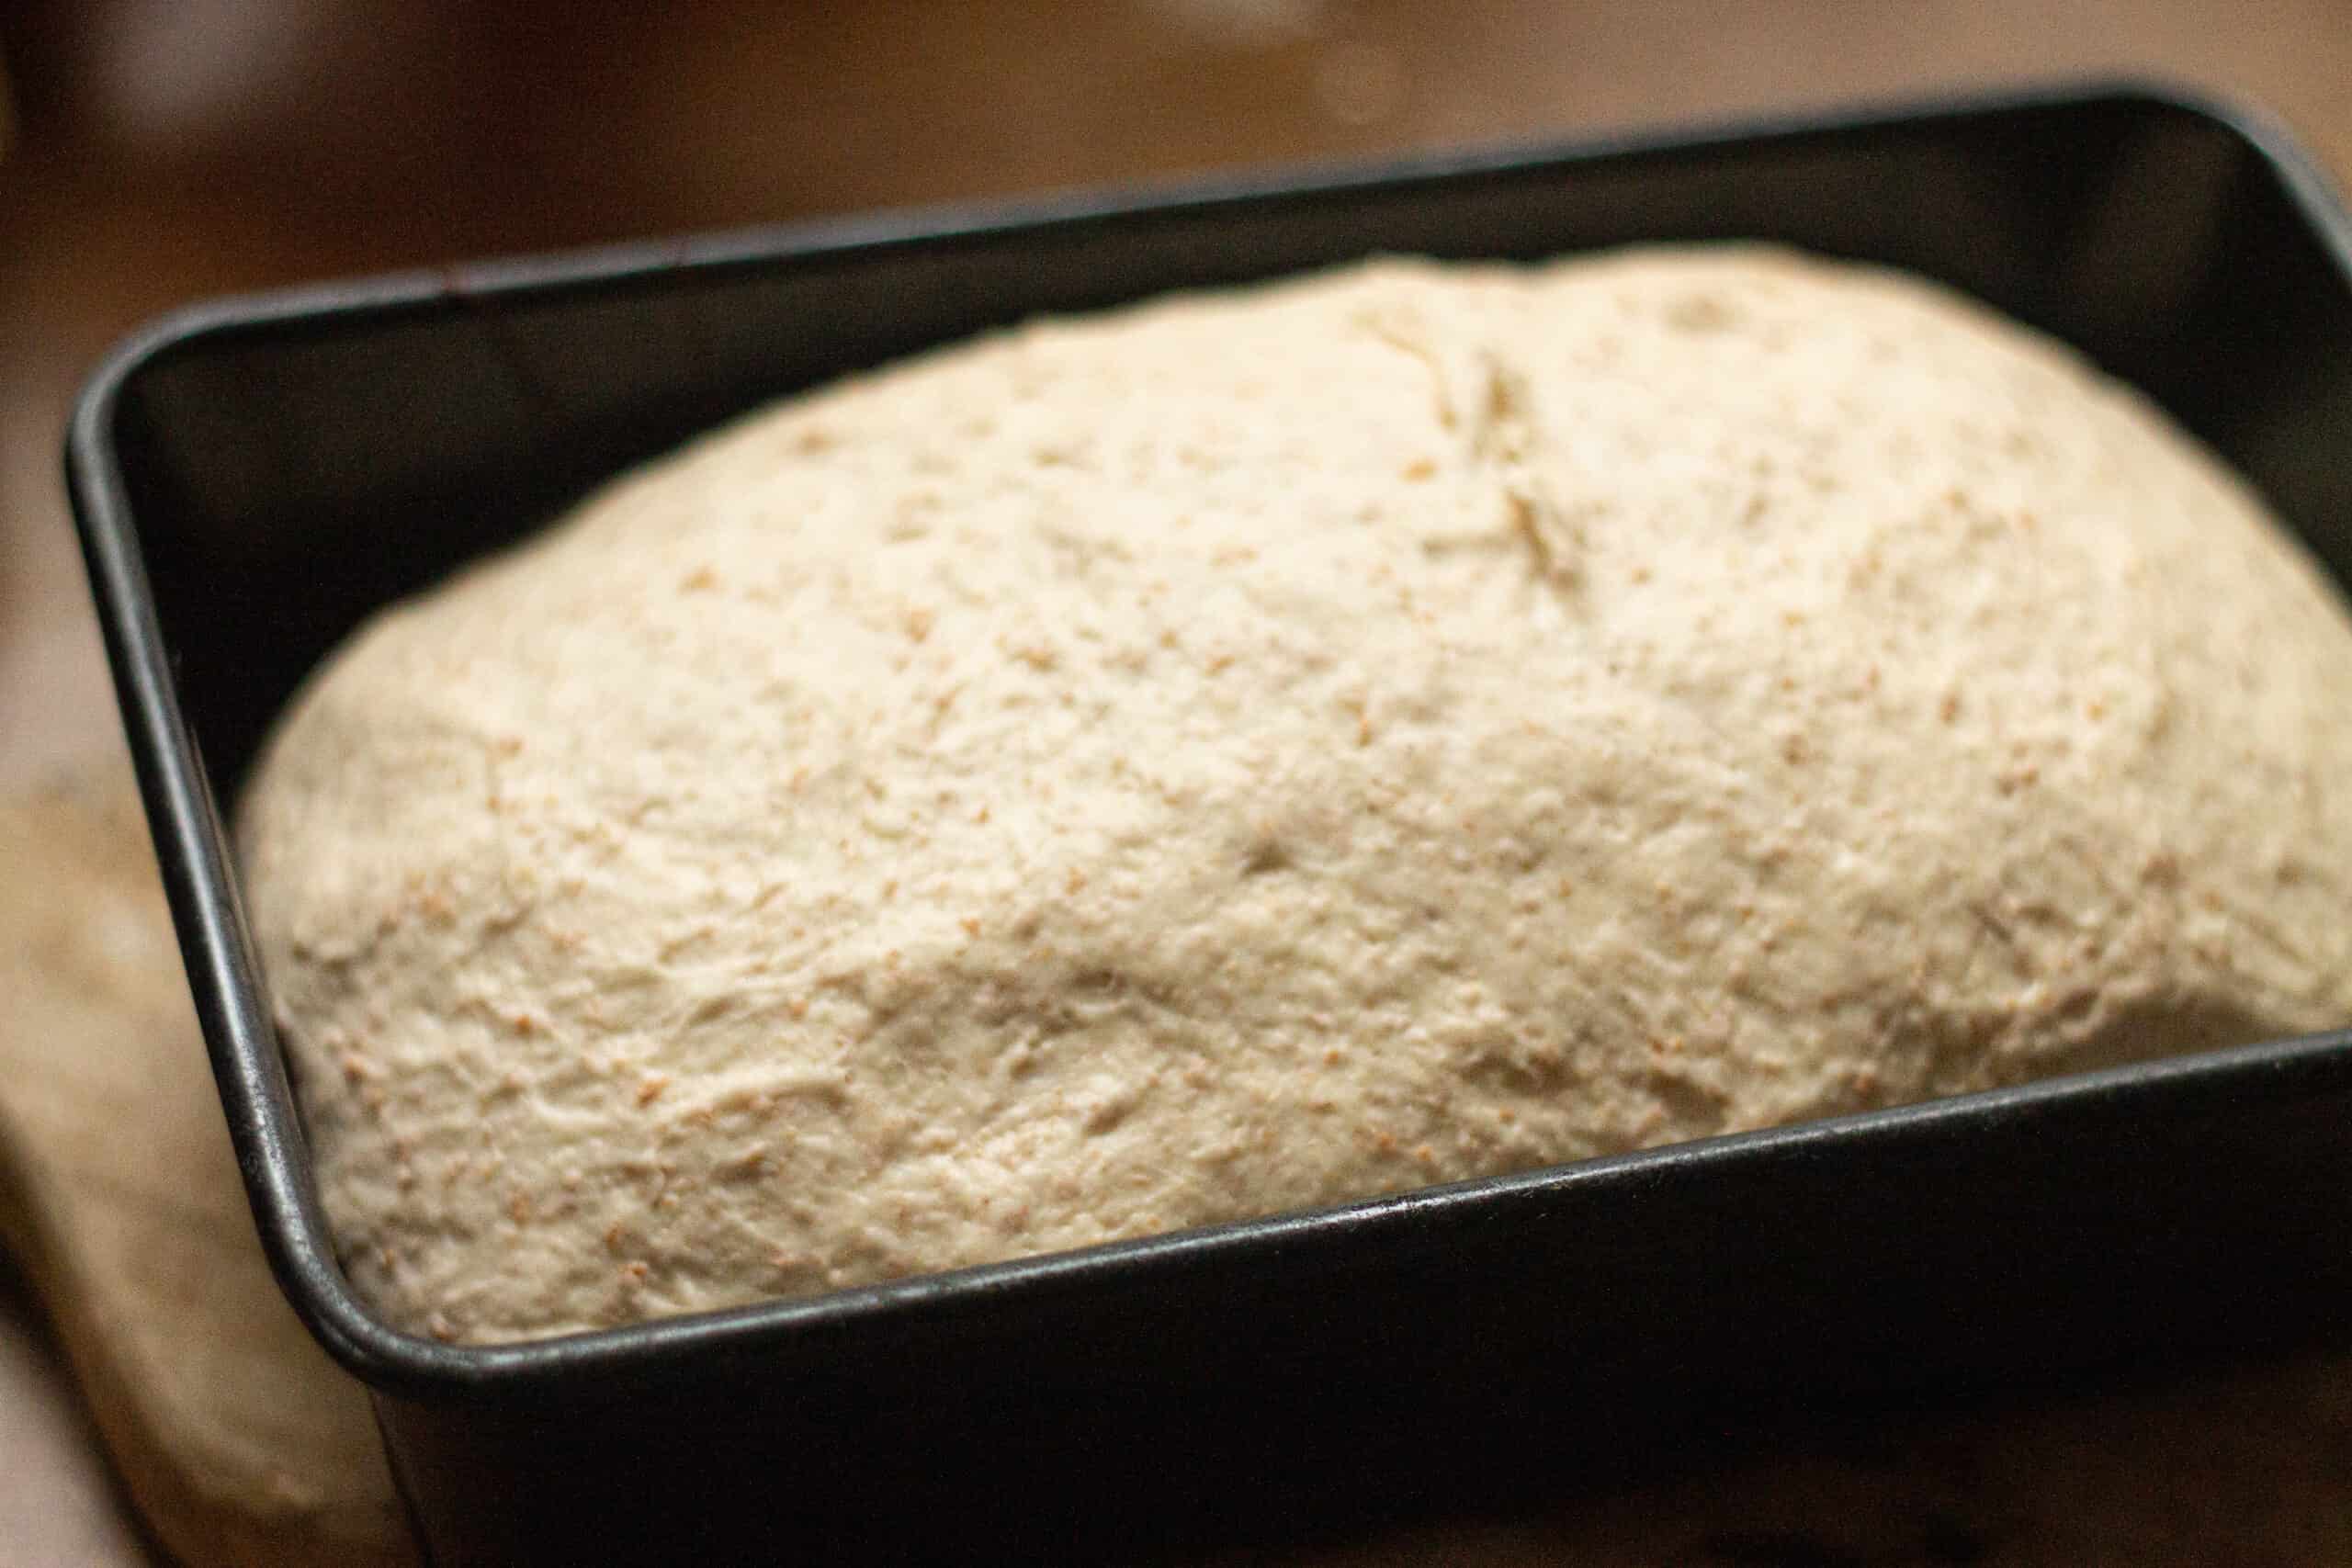
- After 45 minutes, the dough will have filled up the loaf tin nearly and will be ready to bake.
- Bake for 15 minutes at 220c, and then turn the oven down to 200c and bake for another 15 minutes.
- Remove loaf from the oven and carefully turn out of the pan. Turn the heat down to 180c and return the loaf (without pan) back to the oven for another 15-20 minutes.
- You will know if the loaf is baked because it will sound hollow if you knock on the bottom of it.
- Leave to cool on a cooling rack before slicing and serving.
Please note that where the recipe asks for milk, butter or yogurt, this refers to any plant-based version that you prefer.
Food safety
- Cook to a minimum temperature of 165 °F (74 °C)
- Don’t leave food sitting out at room temperature for extended periods
- Never leave cooking food unattended
- Use oils with high smoking point to avoid harmful compounds
- Always have good ventilation when using a gas stove
See more guidelines at USDA.gov.