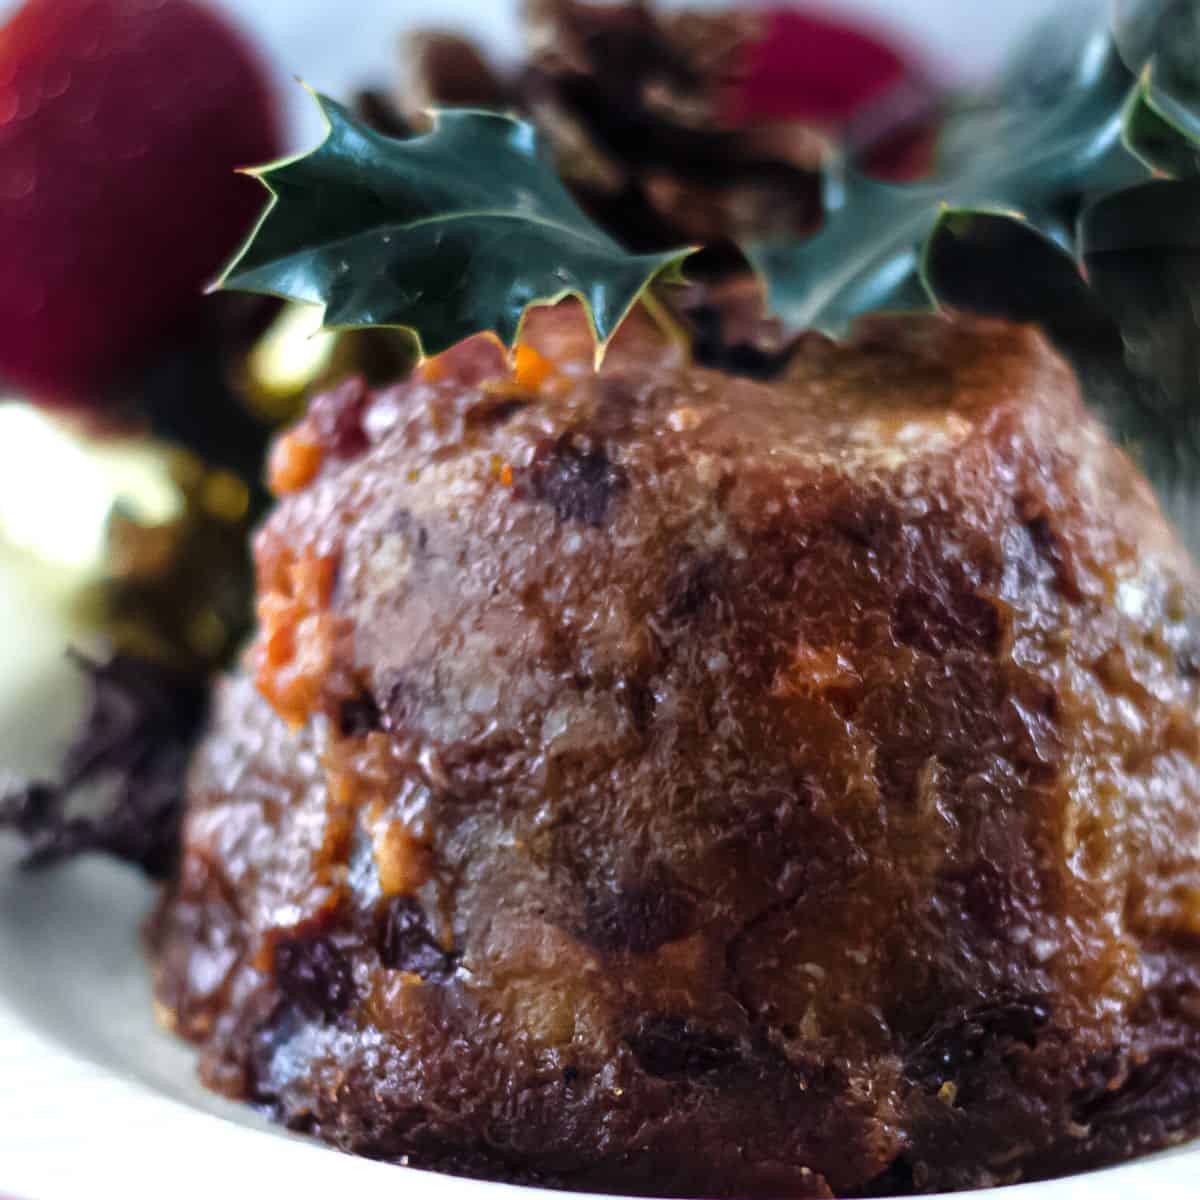
My Sourdough Diary – Week 1 Starter and Equipment
A new and possibly erratically posted series on my experiments with sourdough.
As always, I’m late to the online party. Yes, I know the whole nation was baking banana bread and sourdough during the first lockdown of 2020 (this seems so long ago now), but I was out of that loop and doing goodness knows what else during quarantine.
However. I feel like it’s never too late to write about bread, baking or sourdough, and it’s a good way for me to keep track of my progress as we go along. I hope that you enjoy the journey too and might be inspired to bake along!
Table of Contents
Sourdough and Starters – Research
I have ADHD. This means that I get deeply involved in an interest, buying every possible doo-dad available that I may never look at. Don’t be like me. Do some initial research online on how to make a sourdough starter.
There are lots of online resources for making sourdough starters and bread, and also lots of books available online. I did purchase Emilie Raffa’s book, Artisan Sourdough Made Simple to work from, as I prefer to work from a physical cookbook when trying new recipes.
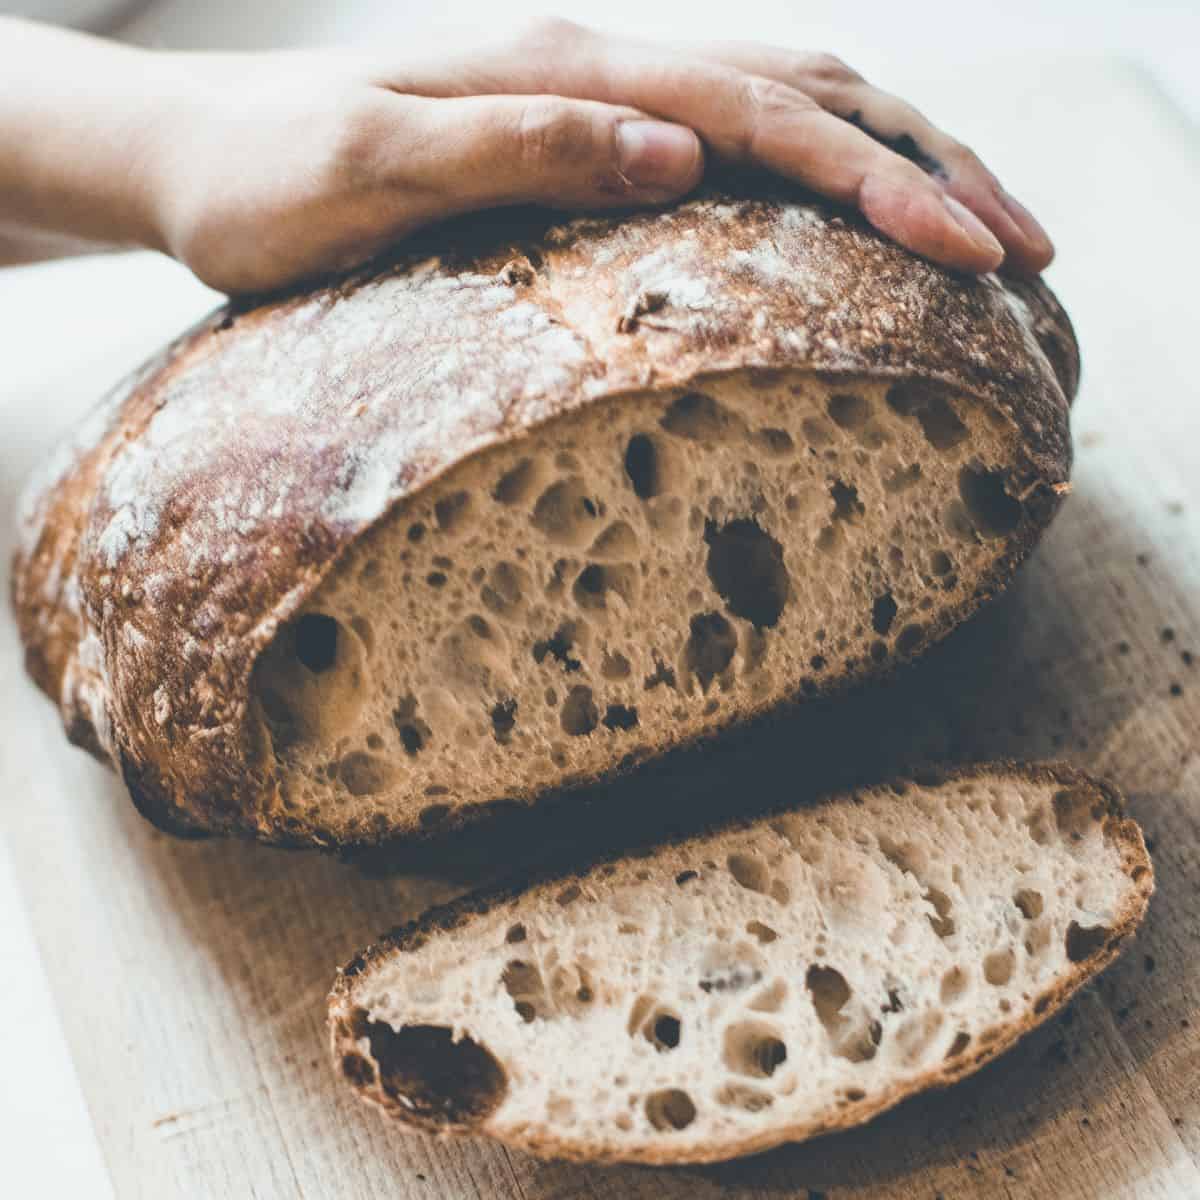
In short, sourdough is a type of bread. It is made with natural yeast, rather than shop bought granules, and this is called a sourdough starter. The sourdough starter imparts the large, open texture of a sourdough loaf, but also a deliciously sour flavour to the bread.
You can easily replicate bakery-made sourdough bakes at home with very little kneading or time required. What is needed is a schedule of a sort, and certainly a plan whenever you want to bake a loaf.
Before considering baking a loaf, you need to make sure that your starter is activated and bubbly.
Then you need to set aside some time for mixing up the dough, allowing a couple of rises, and finally baking. Altogether, the baking process hands-on time needed is no more than 30 minutes, but these need to be organized to avoid any mishaps. Usually, a sourdough loaf is started on one day, and baked the following day.
How to make a simple Sourdough Starter
I was googling sourdough starters on a Friday afternoon and found this one from Emilie Raffa. Her recipe is simple enough: 1/2 cup flour to 1/4 cup of water.
That evening, I sterilised a small jar and made my starter. It makes a very thick paste, and you might find some dry patches of flour. Don’t worry about these too much. This initial stage is the cultivation of the yeast. I used a chopstick to stir the mixture, but I later switched to a fork as it was much easier.
Leave this in a warm place (like an airing cupboard or a shelf above a radiator) and it will take a couple of days to start bubbling.
This is the UK in 2022, and it is winter. Fuel bills are soaring right now, so my house is cold. My starter takes 3 days to show the tiniest bubbles, but it does start to activate.
Feed and Discard
At this point, scoop out (discard) half of your sourdough starter and add another half cup of flour, and quarter cup of warm water. Make sure to discard half of your starter before you feed it.
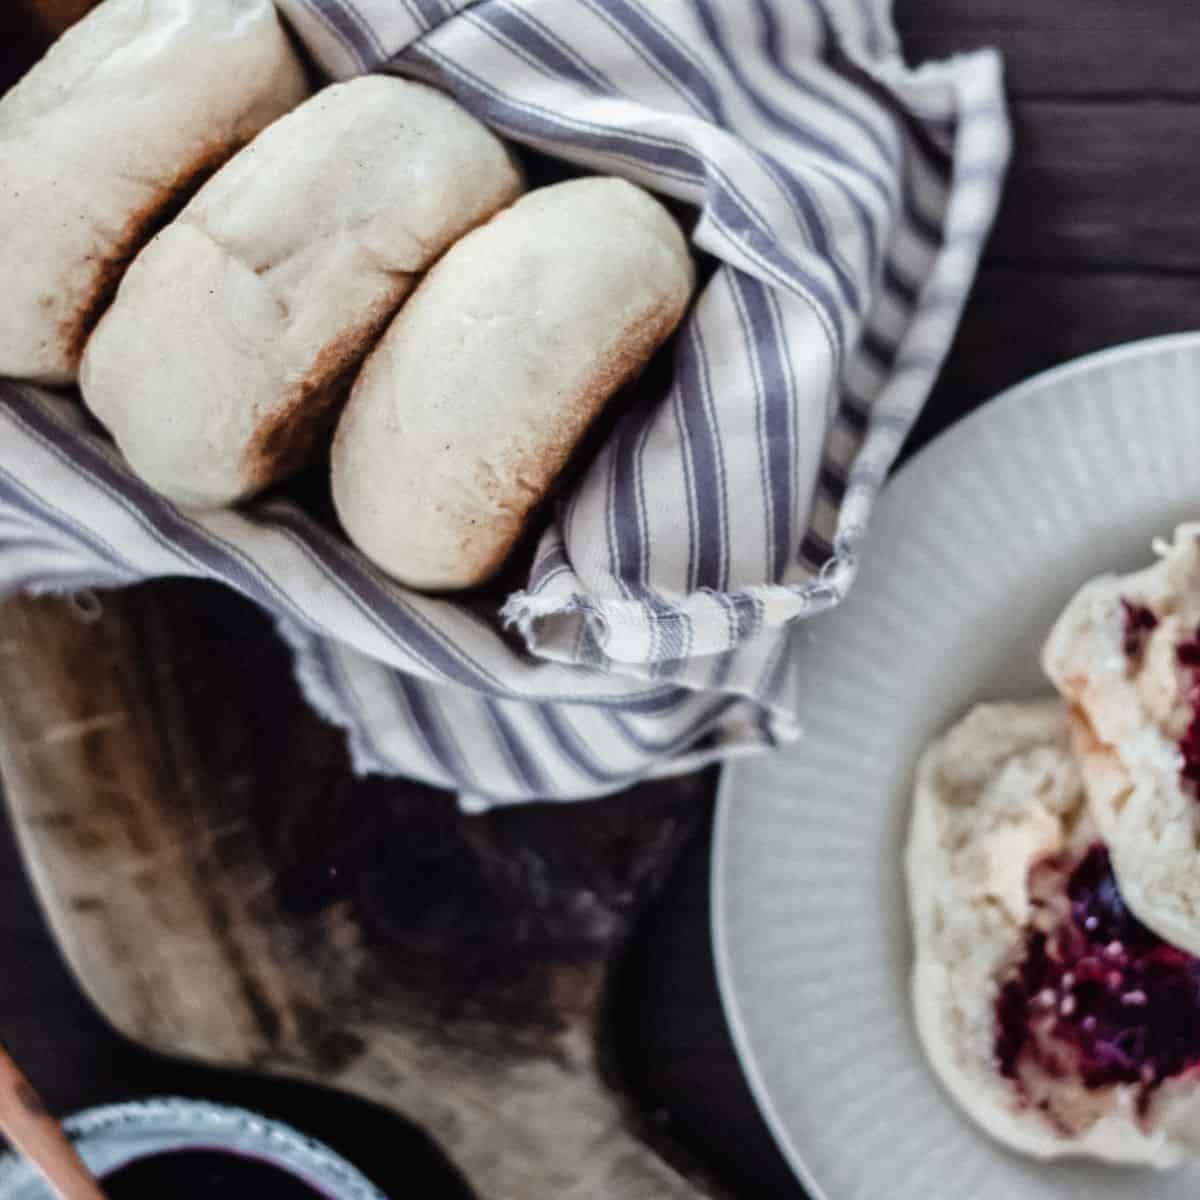
Once you have a mature, bubbly starter, you can start using the discard in all sorts of baked goods like pizza crust, cookies, waffles or other bakes.
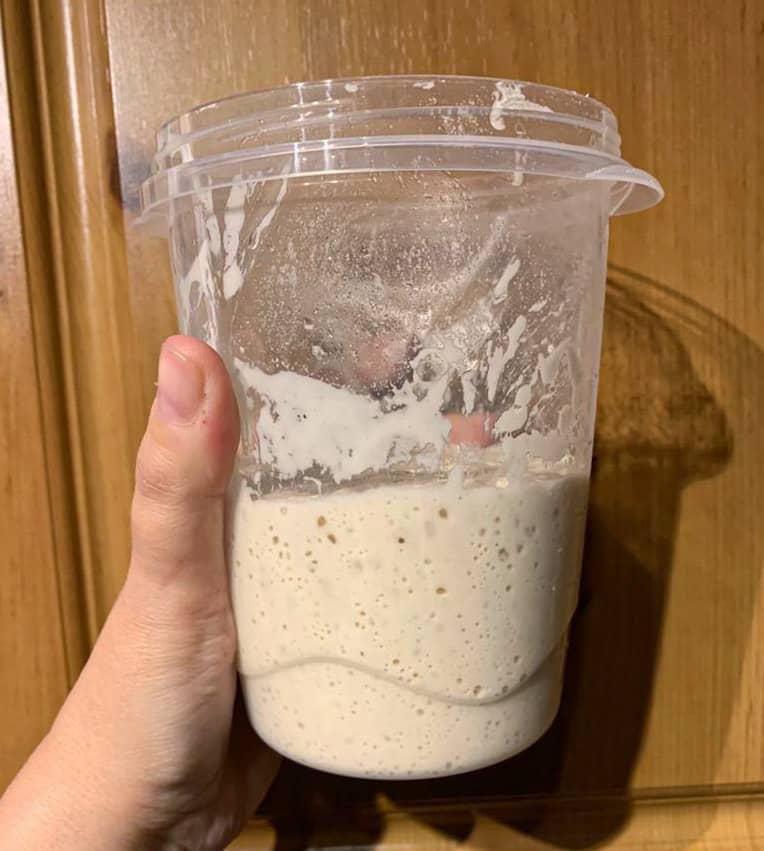
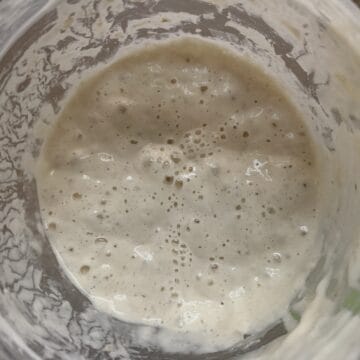
By day 4 the mixture is much bubblier and looks alive and by day 7 I am ready to make my first sourdough loaf.
I do this every day for a week, and, providing the starter is bubbling up healthily, you could be making your first sourdough loaf seven days from inception.
Feeding my Sourdough Starter
I feed my starter every day at the moment, and when the bubbles look less, er bubbly, that’s usually when it needs feeding. Some recipes call for the starter to be fed twice a day, but I only do mine daily.
If I’m going away for the weekend or longer, I feed my starter and then pop it in the fridge. You only need to feed your starter weekly or less when refrigerated.
When I’m planning to use the starter, I remove it from the fridge at least 3 days beforehand, bring it up to room temperature, and restart daily feedings. So, if I was planning to start the sourdough loaf process on Saturday, I would take my starter out of the fridge on Wednesday (or Thursday if it’s warm).
Ingredients for your starter
- plain white flour.
- warm water
- patience
Instructions
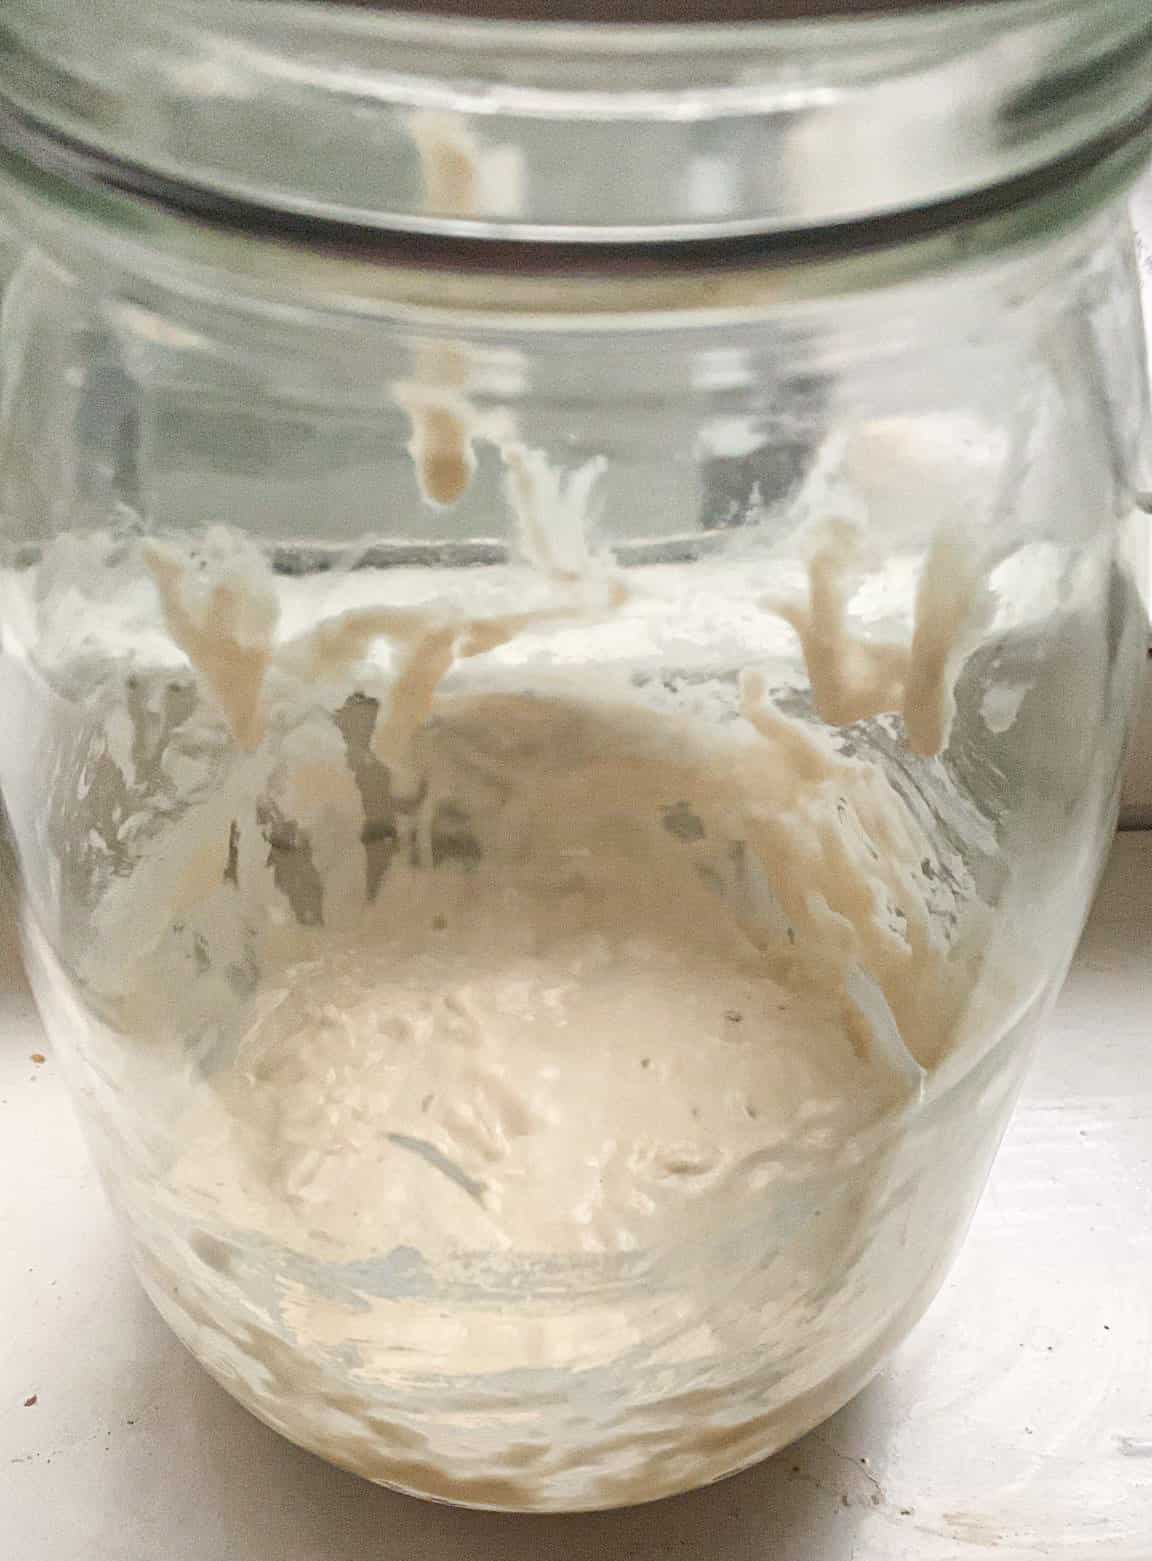
Day 1 of making sourdough starter, half a cup of plain white flour and a quarter cup of warm water.
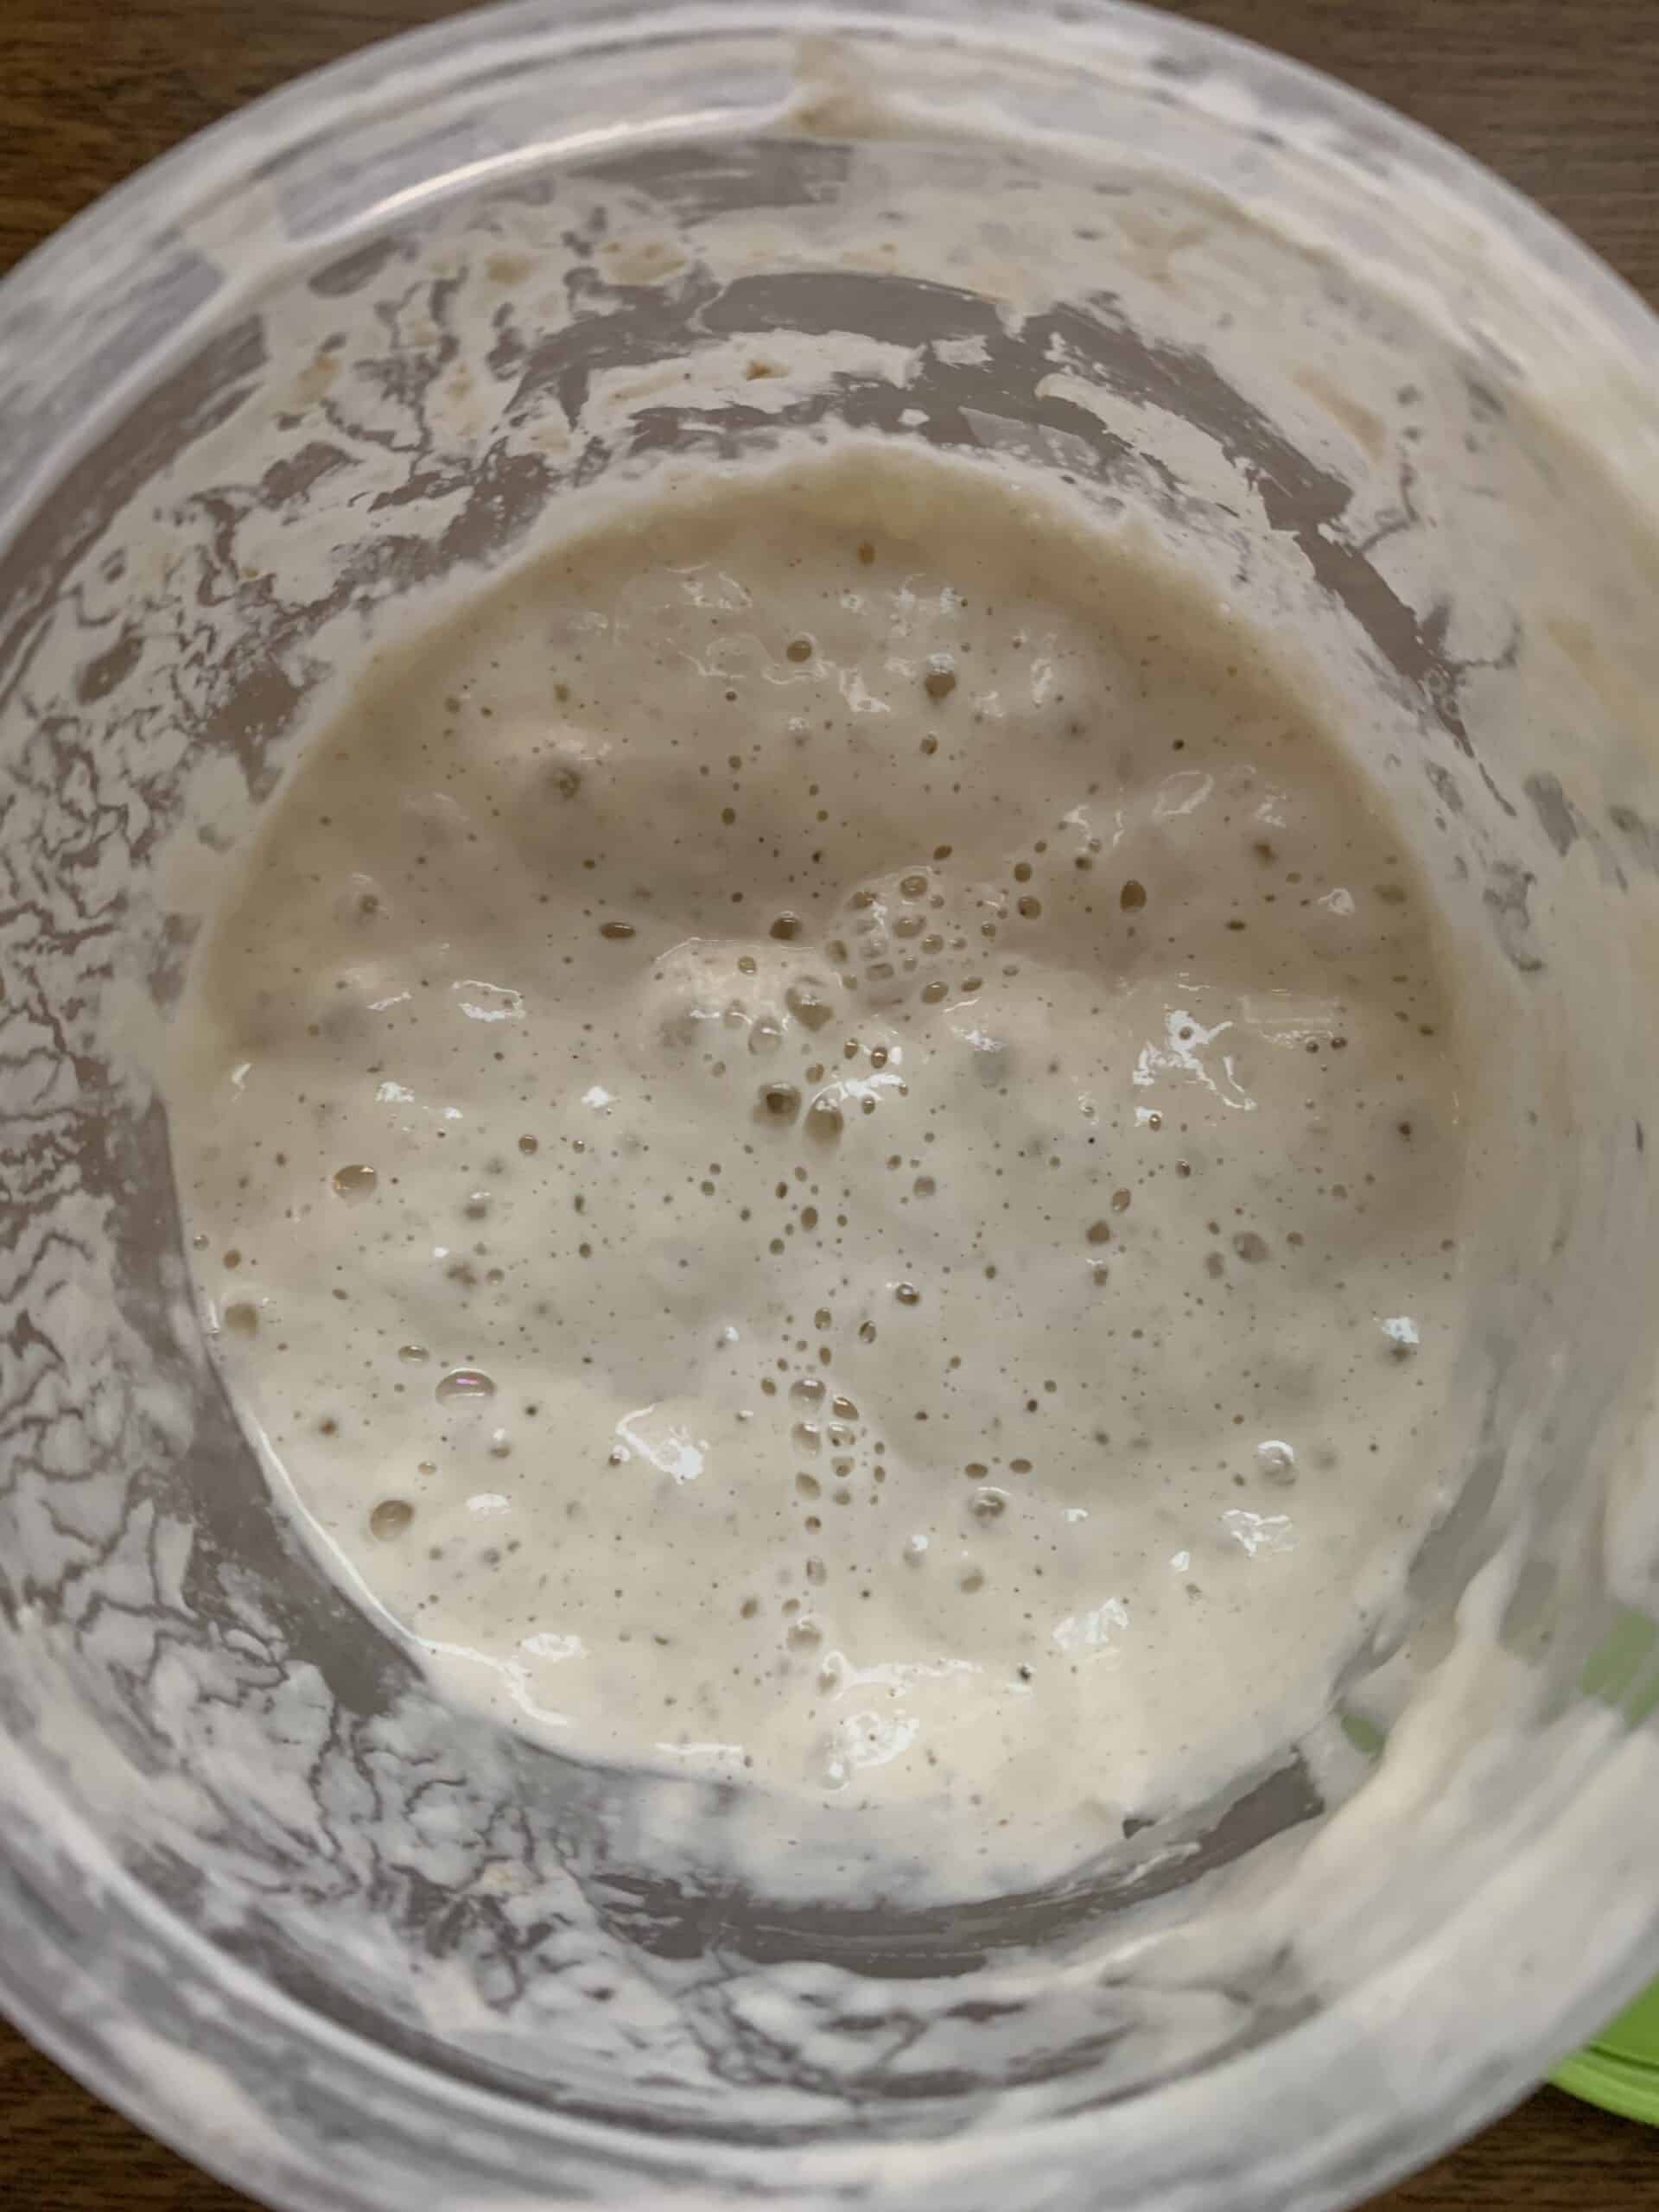
Day 4, something finally starting to happen. I spotted bubbles on Day 3 so removed half the starter and then added a fresh half cup of flour and quarter cup of water.
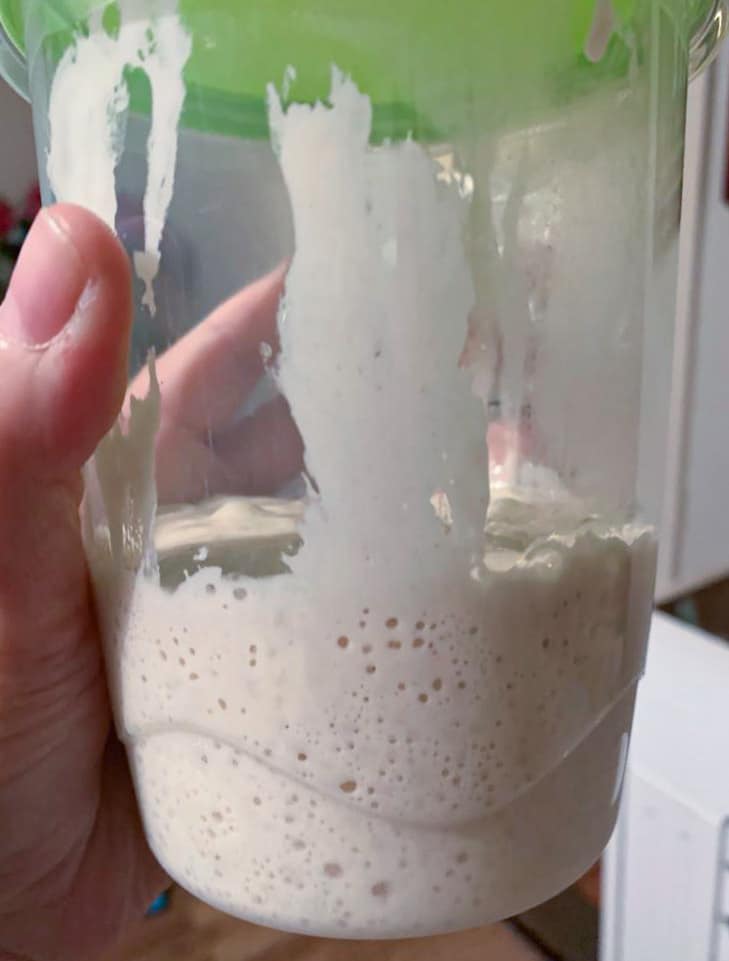
Day 7 of sourdough starter, discard and fed every day since Day 4 and is looking really bubbly.
When ready to use, your sourdough starter will look really bubbly
How should my Sourdough Starter smell?
My starter has gone through a number of different smells to reach a level of pleasant aroma, although it is by no means mature yet. However, it smelt, from day 1 to today, as follows:
- Day 1-2, it smells like a flour and water paste would smell
- Day 3-7 it starts to take on the smell of faint magnolia emulsion paint. I trust the process and hope this stage will pass. Sometimes it smells like over ripe fruit.
- Day 7 onwards it has started to smell tangy but has lost the paint smell. A couple of hours after it has been fed, and it starts to bubble madly, it smells again like overripe fruit, as if you had been given a bag of apples or plums from an orchard, and some of them were starting to ferment in the bag.
Equipment
I decided to buy a couple of items to help with the success of my sourdough. These are completely optional but did help me feel like I was able to work alongside the directions in the Sourdough book.
Firstly, I bought this cheap little kit on Amazon, which contains a boule-shaped basket and cover, a blade (which was rusty and needs replacing with a better one) and a plastic scraper, which is actually really handy.
If you don’t want to buy a basket at this stage, you can use a mixing bowl instead, lined with a clean, well-floured tea towel.
I also purchased a set of four plastic containers to keep my sourdough (and subsequent sourdoughs) in. These are really sturdy much easier to keep clean than Kilner jars (though by all means use whatever you have, providing they’re sterilised).
Finally, I bought an enamel Dutch oven to bake the sourdough in. This has given me great results from my sourdough bakes so far. Any enamel oven dish will work, providing it has a tight-fitting lid.
So, that was how I made my first sourdough starter. In my next post, I will share my first bake, how it went, and what I could have changed. Do let me know your tips and hints in the comments!
Storage
Store the starter in a dry, draft-free place that is warm (around 21c is preferred, but mine has been chilling at 19c recently!).
Once your sourdough is mature, you can freeze it. I haven’t tried this yet, so I will let you know when I do.
FAQ
If your starter has not shown any signs of life (i.e. tiny surface bubbles and remember to look on the underneath of the jar for bubbles as they start at the bottom and work up!) after 7 days, I would discard and start again, using a fresh batch of flour. Make sure the water is warm enough to hold your finger in without it scalding.
Potentially after 7 days if your starter activates really efficiently, but this is dependent on the type of flour you use, storage, weather etc.
Many recipes say that a starter isn’t ready for two weeks but mine worked great after one.
Basic Sourdough Starter
Equipment
- 1 glass or food-grade plastic jar with a lid
Ingredients
These amounts are per day
- ¼ cup warm water
- ½ cup plain white flour
Instructions
- On day 1, place the ingredients in your jar, mix well and replace the lid.
- Once the mixture starts to produce bubbles, this can be after just 12 hours, but could be as long as 3 days, scoop out (discard) half of the mixture and add a new half cup of flour and quarter cup of water.
- Mix well with a fork, replace the lid.
- Continue removing half the mixture and replacing it each day until your mixture is bubbly and very active. Now it is ready to use.
- Each time you remove, say, half a cup of starter for a recipe, replace it with half a cup of flour and a quarter cup of water (the equal amount of flour, as amount used in recipe plus half that amount of water). You will not need to feed additionally on that day.
To refrigerate starter
- Once your starter is activated and bubbly, you can store it in the fridge, and you will only need to feed it once a week.
Please note that where the recipe asks for milk, butter or yogurt, this refers to any plant-based version that you prefer.